Description
Overview
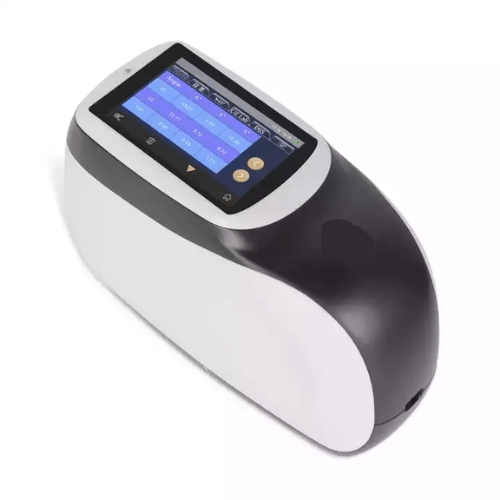
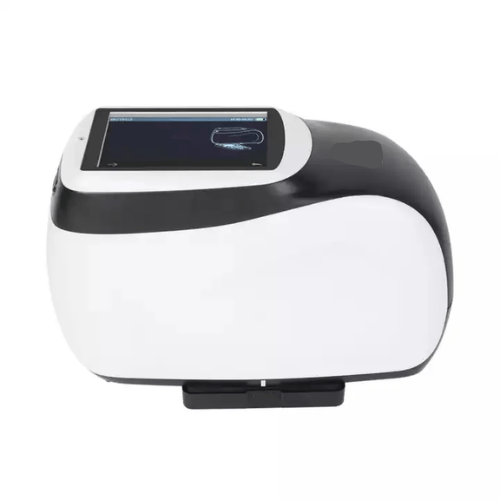
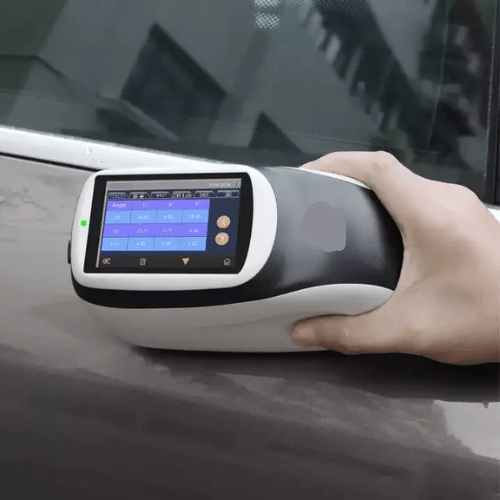
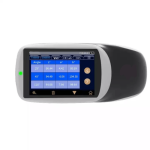
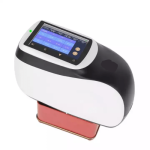
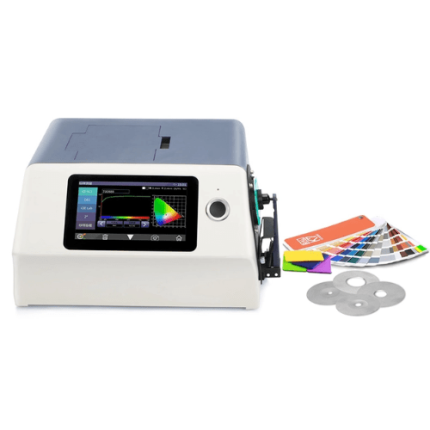
GAOTek colour spectrophotometer benchtop colorimeter multi-angle spectrophotometer is used to measure the colour difference for the surface paint which is affected by different viewing angles and viewing conditions. It can provide accurate and consistent colour measurement for metallics, pearl escents and other complex special effect finished products.
Features
- Multi angle measurement
- More intuitive display
- Concave grating spectrophotometric technology
- Colour camera preview, clearly observe the measured area
- Easy analyze data
Technical Specifications
| Measurement Geometry | 3 measurement angles (3 illumination sources, 1 receivers) |
|
Measure Angle |
45° Receiver 45 as 25°, 45 as 45°, 45 as 110° Conform to the standards ASTM D 2244, E 308, E 1164, E 2194, E 2539, DIN 5033, 5036, 6174, 6175-1, 6175-2 ISO 7724, 11664-4 SAE J 1545 |
| Application | Provide accurate and consistent colour measurement for metallic, pearlescent and other complex special effect colour products |
| Light Source | Full spectrum LED light source with blue enhancement |
| Lamp Life | 5 years, 3 million times measurements |
| Spectrophotometric Mode | Concave Grating |
| Sensor | 256 Image Element Double Array CMOS Image Sensor |
| Wavelength Range | 400 nm to 700 nm |
| Wavelength Interval | 10 nm |
| Semi band Width | 10 nm |
| Measurement Range | 0% to 600% |
| Measuring Aperture | Φ0.47 in (12 mm) |
| Colour Space | CIE LAB, XYZ, YXY, LCH, βxy, DIN Lab 99 |
| Colour Difference Formula | ΔE x ab, ΔE x 94, ΔE x CMC (2 1), ΔE x CMC (1 1), ΔE x00, DIN ΔE 99, ΔE DIN 6175 |
| Other Colorimetric Index | Flop Index |
| Observer Angle | 2° or 10° |
| IL luminant | D 65, A, C, D 50, D 55, D 75, F 1, F 2 (CWF), F 3, F 4, F 5, F 6, F 7 (DLF), F 8, F 9, F 10 (TPL5), F 11 (TL 84), F 12 (TL 83 or U 30) |
| Display | Spectrogram or Values, Samples Chromaticity Values, Colour Difference Values or Graph, PASS or FAIL Result, Colour Offset |
| Measuring Time | Approx. 1 second for one angle Approx. 3 seconds for all angles |
|
Repeatability |
Spectral reflectance Standard deviation within 0.08% Chromaticity value ΔE x ab 0.04 (When a white calibration plate is measured 30 times at 5 second intervals after white calibration) |
| Reproducibility | ΔE x <0.10, avg on the grey tile of BCRA tile set ΔE x <0.25, avg on the colour BCRA tile set |
| Inter-instrument Error | 0.2 ΔE x 00 (avg on reference Series II BCRA tile set) |
| Trigger Mode | Pressure sensing trigger, button trigger, software trigger |
| Measuring Mode | Single measurement, average measurement (1 to 99), continuous measurement (1 to 99) |
| Locating Mode | Colour camera preview |
| Power | lithium-ion battery, 3.7 V, 3200 mAh, Continuous test 6000 times within 8 hours of full charge |
| Display | 3.5 (8.89 cm) TFT colour LCD, Capacitive Touch Screen |
| Interface | USB |
| Data Storage | 1000 pcs Standards, 4000 pcs Samples |
| Language | Simplified Chinese, Traditional Chinese, English |
| Calibration | Built-in white board parameters, external white board, black light trap |
| Calibration Interval | 4 hours, 8 hours, 24 hours, Startup calibration |
|
Standard Accessories |
Power Adapter, USB Cable, User Guide, PC Software (download from the official website), Calibration Board, black light trap, Protective cap, wristband |
| Optional Accessory | Micro-printer |
| Operating Environment | 50 °F to 122 °F (10 °C to 50 °C) |
| Humidity | Humidity does not exceed 85%, no condensation |
| Storage Environment | -4 °F to 122 °F (-20 °F to 50°F) |
| Dimension | 7.68 in x 3.27 in x 5.04 in (195 mm x 83 mm x 128 mm) |
| Weight | About 2.20 lb (1 kg) |

