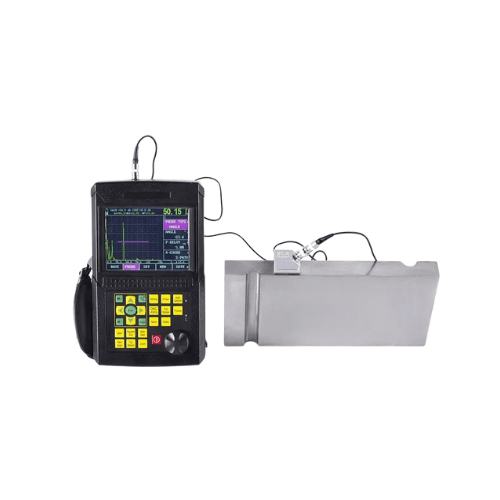
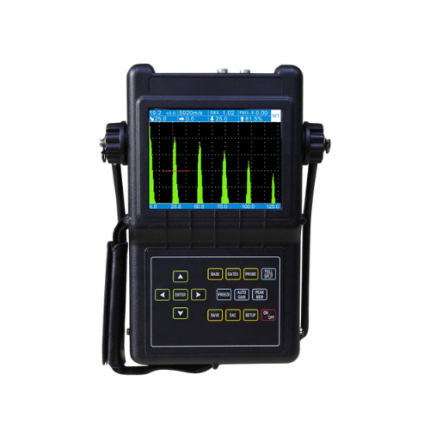
Description
Features
- Probe automatic calibration
- DAC and AVG are automatically formed, and can be corrected and compensated
- Freely switch to four kinds of standards (depth D, level P, distance S, amplitude H)
- Functions such as Auto-gain and peak memory improve detection efficiency
- Automatically calculate the φ value equivalent defects
- 13 built-in testing standards are available
- Storage: 980 pieces of A-scan images and data
- Power supply: rechargeable Li-ion battery, standby time more than 15hours
- The width and intensity of launch pulse are adjustable
- With the durable shell, oil-proof, waterproof and dust-proof
- PC software is available for data analysis, management and reports printing
Technical Specifications
| Operating Frequency | 0.5 MHz to 15 MHz |
| Scan Range(mm) | 0 in to 236.22 in (0 mm to 6000 mm) |
| Velocity Range(m/s) | 1000 to 15000 |
| Vertical Linearity Error | ≤3 % |
| Dynamic Range | ≥32 dB |
| Horizontal Linearity Error | ≤0.2 % |
| Testing Sensitivity | ≥62 dB (Depth 200 mm, Φ2 flat bottom hole) |
| Measuring Channel | 50 |
| Storage | 500 |
| TCG Curve | No |
| B Scan | No |
| PC Connection | Yes |
| Video | No |
| Gain Range(dB) | 0 to 110 |
| Standard Probes | Straight probe: 2.5 MHz, diameter 20 mm, cable Q9 to Q9 Angle probe: 4 MHz, 60 degree, 0.32 in x 0.35 in (8 mm x 9 mm), cable Q9-C5 |
| Dimension | 9.45 in x 6.30 in x 1.58 in (240mm × 160 mm × 40 mm) |
| Weight | 2.65 lb. (1.2 kg) |
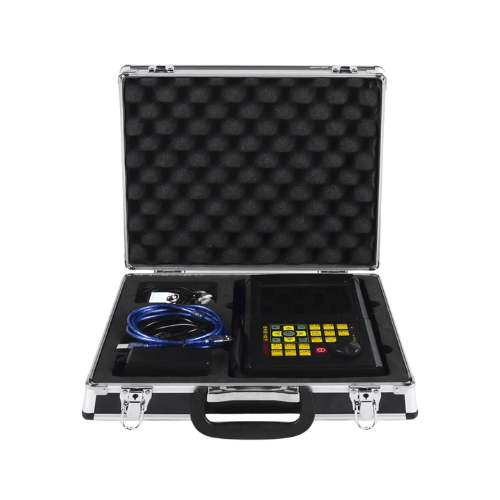
| Standard Delivery | Main Unit, Straight probe, Angle probe, Power adapter, NC cables, PC software, Manual, Certificate, Warranty card |
| Optional Accessories | Optional probes, Cables, Calibration blocks, Coupling agent |


