Description
Overview
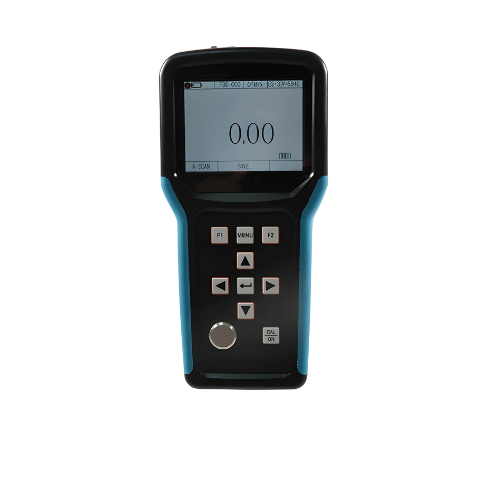
GAOTek High-Precision Ultrasonic Thickness Gauge is a new type of handheld high-precision digital ultrasonic thickness gauge with A/B scanning. It adopts the principle of ultrasonic thickness measurement based on pulse reflection. It is suitable for the measurement of material thickness that can make ultrasonic wave propagate in it at a constant speed and get the reflection from its back. The measurement resolution is 0.001mm and the measurement range is as thin as 0.15mm (steel). This product can accurately measure plates and processed parts. On the other hand, it can monitor the thinning degree of pipes and pressure vessels in production equipment after corrosion during use. It can be used in petroleum, chemical industry, metallurgy, shipbuilding, aerospace, energy and other fields.
Features
- Wide measurement range
- Multiple echo for ultra-thin parts
- Minimum 0.15mm (steel)
- High precision (0.001mm)
- Penetrates coatings, echo-to-echo measurements
- Mb-e, E-E, me-e for various scenarios
- Conventional, difference/reduction rate
Technical Specifications
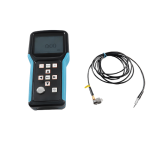
| Probe Type | Single crystal probe or double crystal probe |
| Indication Error(<10mm) | 0.0005 in (±0.005 mm) |
| Indication Error(≥10mm) | ±0.1 % |
| Repeatability Error | 0.00003 in (±0.001 mm) (Self-test) |
| Indication Stability | Zero crossing and multiple echo technology are adopted to ensure that the thickness measurement value is not affected by echo strength, material attenuation coefficient, gain and gate height, and has high measurement stability and reliability. |
| Measurement Frequency | 4 Hz,8 Hz,16 Hz |
| Resolution | 0.1 mm,0.01 mm,0.001 mm (0.01 in,0.001 in,0.0001 in) |
| Pulse Generator | Negative square wave emission is adopted, and the pulse width and voltage are automatically matched with the probe. |
| Sound Velocity Range | 400 m/s to 19999 m/s |
| Calibration Block | 0.157 in (4 mm) (steel) |
| Automatic Shutdown | One can choose 5 minutes, 10 minutes, 20 minutes and manual shutdown. |
| Probe Calibration | One point calibration, multi-point calibration |
| Gain | Automatic gain control, Manual gain control |
| Gain Range | 0 dB to 70 dB |
| Detection Mode | Radio frequency (RF), positive half wave (POS), negative half wave (NEG), full wave (FULL) |
| Measurement Mode | (1) MB-E: the measurement mode based on the transit time from the initial echo to the first bottom echo; (2) E-E: penetration coating measurement mode, the arbitrary Em–En echo is optional; (3) ME-E: multiple echo measurement mode; (4) THIN: thin wall measurement mode; |
| Numerical Mode | Thickness value mode, difference / reduction rate mode, maximum / minimum value mode |
| A-Scan Mode | Available |
| B-Scan Mode | Available |
| Coupling Indication | Available |
| Battery Indication | Available |
| Language | Chinese / English |
| Unit | Mm/inch |
| Menu Operation | Available |
| Software Function | Dynamic gate setting, blanking setting (Blank), echo blanking setting (E-blank), echo freezing, echo translation and scaling |
| Storage Function | It can store 100,000 thicknesses (100 groups, 1000 in each group), 500 groups of A-scan waveforms and 500 groups of B-scan waveforms at the same time. |
| Host Program Upgrade | Available |
| Display | 3.5 in QVGA (320 × 240) color TFT-LCD screen |
| Data Transmission | It supports RS-232 serial communication and transmits data to the computer. |
| Working Voltage | Four No. 5 AA batteries are required. When the power is insufficient, there is a low voltage prompt. |
| Total Weight | 0.68 lb (310 g) (Without battery) |


