| Hardness scale |
HL, HB, HRB, HRC, HRA, HV, HS |
| Memory |
48 to 600 groups (impact times: 32 to 1) |
| Measuring range |
HLD (170 to 960) See below table 1 and table 2 |
| Accuracy |
±6 HLD (760 ± 30 HLD) error of displayed value |
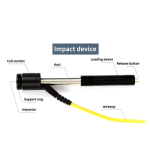
| Standard Impact Device |
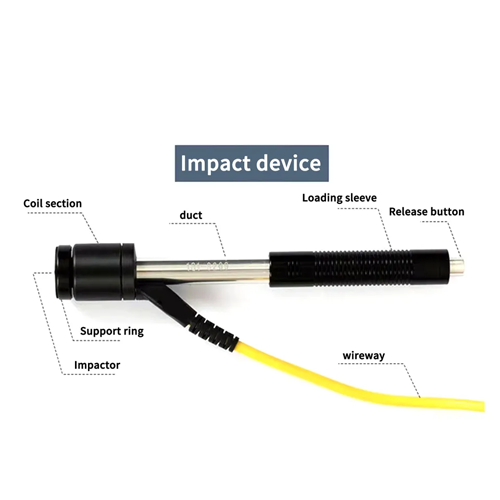
D |
| Optional Impact Devices |
DC/D + 15 / G / C / DL |
| Min.Radius of Workpiece |
R min = 1.9 in (50 mm) (with special support ring R min = 0.3 in (10 mm)) |
| Min. Workpiece weight |
4.4 lb to 11 lb (2 kg to 5 kg) on stable support/ 0.11 lb to 4.4 lb (0.05 kg to 2 kg) with compact coupling |
| Min. Workpiece thickness |
0.1 in (5 mm) (Impact Devices D/DC/DL/D + 15)/0.03 in (1 mm) (Impact Device C)/ 0.3 in (10 mm) (Impact Device G) |
| Min. thickness of hardened surface |
0.03 in (0.8 mm) |
| Power |
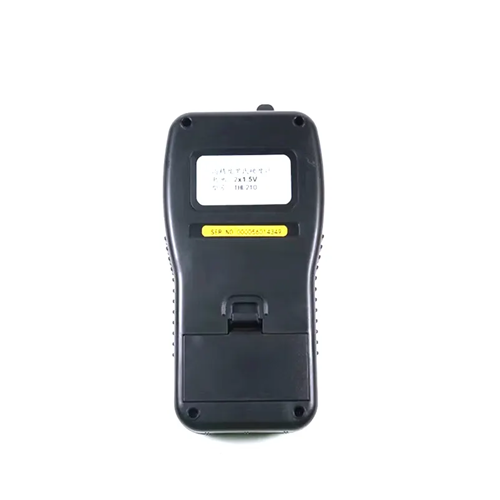
Normal AA Battery |
| Continuous Working time |
approx.100 h (no back light off) |
| Operating temperature |
32 °F to 104 °F (0 ℃ to 40 ℃) |


