Description
Overview
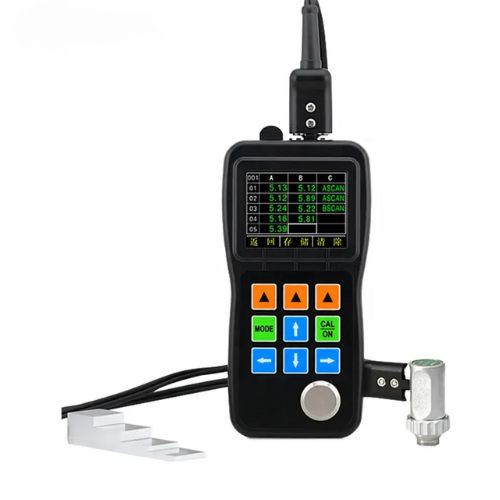
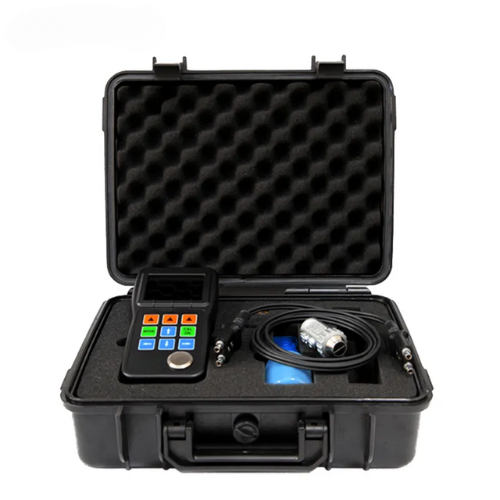
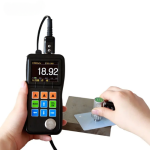
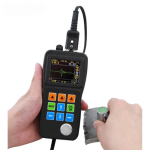
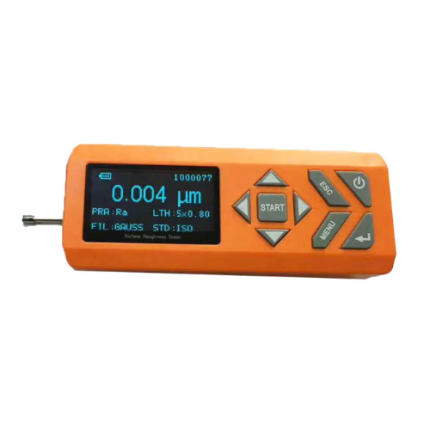
GAOTek measuring instrument galvanized coating thickness gauge tester is the introduction of a new generation of thickness gauges, breakthrough technology for your maximum to solve a variety of measurement problems. It greatly improves the performance of conventional ultrasonic gauges, with better measurement stability and repeatability. Widely used in petrochemical, power, boat and pipe, pressure vessel and storage tank wall thickness measurement. Can measure the thickness of metal materials, pipes, pressure vessels, sheet (steel, aluminum), plastic, iron pipe, PVC pipe, glass and other materials
Feature
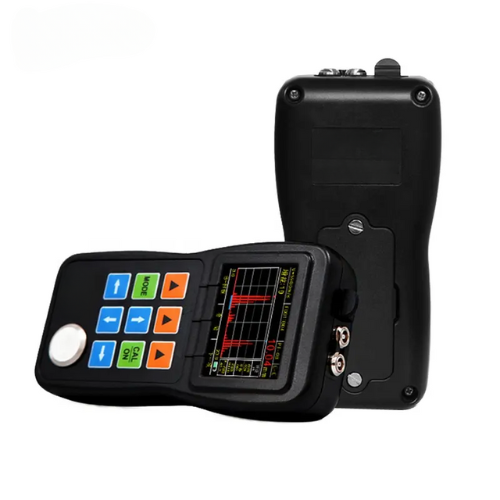
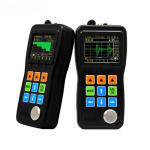
- Color real-time A/B scanning
- The echo display can help users better control of the measurement
- Penetration coating function
- The waveform color change dynamically when coupling
- Zero-wave, full-wave, update rate, B-scan maximum / minimum
Technical Specifications
| Display screen | 2.4 QVGA (320 × 240) color OLED screen, contrast 10000 1 |
| working principle | An ultrasonic pulse echo method using a twin crystal probe |
| Measuring range | Standard mode 0.025 in to 20.00 in (0.5 mm to 508 mm) Coating mode Substrate thickness (for the removal of the paint layer of the substrate net thickness measurement) Coating thickness of less than 0.3 in (8 mm) Depending on the probe used, the material to be measured and the surface condition |
| Measure the resolution | 0.001 in (0.1 mm) |
| Unit | mm or inches |
| Indication error | ± 0.05 mm (H ≤10 mm) ± (0.5% H +0.01) (H >10 mm) Note H is the thickness of the measured object |
| Indication stability | Using a breakthrough zero-crossing measurement technique, the thickness measurement is not affected by the attenuation strength of the material, the gain and the gate height, and has high measurement stability and reliability. |
| Gain | High, medium and low third gear adjustable |
| Display mode | Thickness value mode, minimum / maximum capture mode, difference / reduction rate mode |
| storage | 100,000 thickness values and 1000 sets of waveforms can be connected to the computer to export data, the data can be statistics, analysis, archiving, printing reports and other operations. |
| Communication Interface | USB 2.0 Full Speed interface |
| V path correction | Automatic V sound path correction, compensation for dual crystal probe non-linearity |
| Measure the update rate | 4 Hz per second, 8 Hz, 16 Hz optional |
| Material sound velocity range | 500 m/s to 9999 m/s,0.0179 in/us to 0.3937 in/us |
| Working language | Chinese, English, Japanese, German, French five languages to choose from |
| Alarm settings | Maximum / minimum alarm, dynamic changes in the thickness of the alarm when reading the color |
| Power | Two 1.5 V AA batteries |
| Operating time | Two AA batteries, the use of time is greater than 35 hours |
| Shut down | Optional 5, 10, 20 minutes without operation after the automatic shutdown, or can only manually shut down |
| Operating temperature | 14 °F to 122 °F (-10 ℃ to +50 ℃),with special requirements up to –4 °F (-20 ℃) |
| Dimension (H×W×D) | 6 in x 2.9 in x 1.4 in (153 mm × 76 mm × 37 mm) |
| Weight | Containing the battery 0.6 lb (280 g) |

