Description
Overview
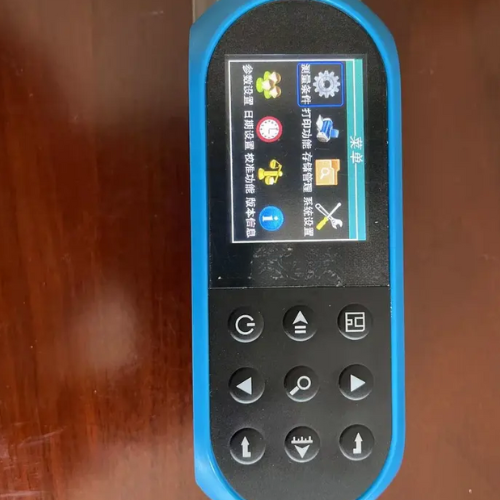
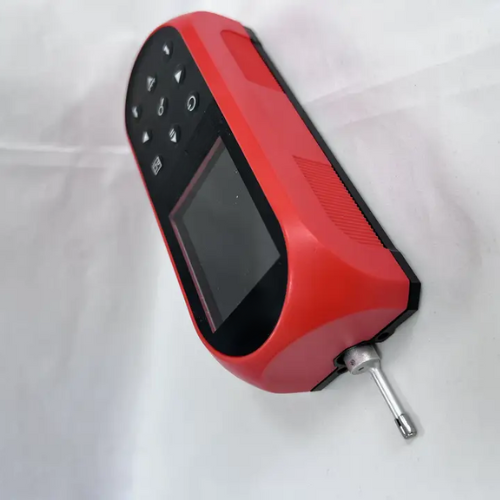
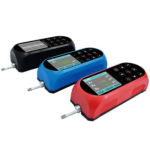
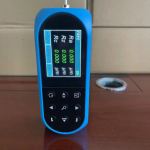
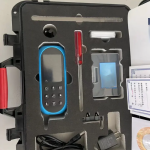
GAOTek surface roughness measuring instrument is a handheld instrument suitable for on-site and mobile measurement. It can measure a variety of machined parts, is capable of evaluating surface textures with a variety of parameters according to various international standards. The measurement results are displayed digitally/graphically on the color graphic LCD display.
Feature
- Composite structure, electromechanical integration design, small size, light weight
- DSP chip control and data processing, high speed, low power consumption
- Has automatic switching range and display
- Graphic display of measurement realizes their on -site verification, result with parameter and waveform is easy to check
- Using TYPE C and Mini USB interface, applied to communication and automatic control
- Capable of change display orientation for easy operation with left, right hand
- Upper and lower limit alarm can be set
- Capable of printing single or multiple records
- Conform to multiple standard: ISO4287, ANSI b46.1, DIN4768, JISb601
- Display full information, intuitive and graphical displays all parameters
- Built in lithium-ion rechargeable battery and control circuit, high capacity, no memory effect
- The tester can graphically display the remaining battery power
- Continuous working time 20 hours
- Large capacity data storage, can store 100 items of raw data and measured profile
- Real-time clock setting and display for easy data recording and storage
- With automatic sleep, automatic shutdown power-saving features
- Reliable circuit and software design of prevent the motor stuck
- language: Chinese/English
- All parameters can be printed or print any of the parameters which set by the user
- The glass calibration sample is with high precision, not easy to be scratched and long service life
- Optional: curved sensor, very small holes sensors, measurement stand, extension rod, printer etc
Technical Specifications
| Measurement Range the Z axis (vertical) | 160 μm |
| Measurement Range the X axis (horizontal) | 0.69 in (17.5 mm) |
| Resolution ratio the Z axis (vertical) | 0.002 μm / ±20 μm0.004 μm / ±40 μm0.008 μm / ±80 μm |
| Measurement item Standard | ISO4287, ANSI b46.1, DIN4768, JISb601 |
| Measurement item Graphic | Primary profile, Roughness profile, load curves |
| Filter | RC, PC – RC, Gauss, D-P |
| The sampling length(lr) | 0.001 in, 0.03 in, 0.01 in (0.25 mm, 0.8 mm, 2.5 mm) |
| Assessment length(ln) | Ln= lr×n n=1 to 5 |
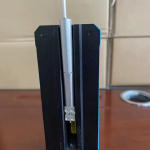
| Sensor Principle | The displacement differential inductance |
| Sensor Stylus | Natural Diamond, 90° / 60° angle, 2 μm / 5 μm tip radius |
| Sensor Force | <4 mN |
| Sensor Skid | hard alloy material, longitudinal radius 40mm |
| Accuracy | ± (5nm +0.1 A) A: Ra of calibration test block |
| Repeatability | No more than 3% |
| Residual profile | No more than 0.010μm |
| Power supply | Built-in 3.7 V Lithium-ion battery, Charger: DC 5 V, 800 mA/3 hrs |
| working Environment | Temperature: -4 °F to 104 °F (– 20 ℃ to 40 ℃)Humidity:< 90% RH |
| Store and Transportation | Temperature: -40 °F to 140 °F (- 40 ℃ to 60 ℃)Humidity:<90% RH |
| Weight | 1 lb (350 g) |


