Description
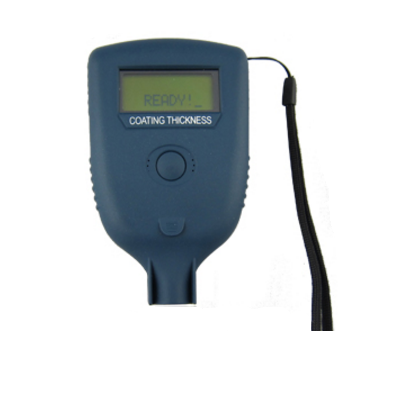
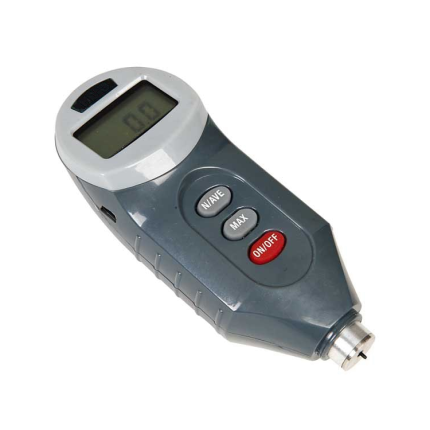
GAOTek Coating Thickness Gauge with Magnetic Induction (Small Size) is designed to measure magnetic and non-magnetic materials in the wide measuring range of 1 μm to 6000 μm. It uses magnetic induction method and eddy current method to measure the thickness of the magnetic coating on non-magnetic base. This small-sized device is suitable for use in harsh conditions. This instrument provides zero calibration, under voltage and error indicator, span calibration, prompt beep operation and automatic shutdown function. It can be used in the field of metal processing industry, manufacturing, chemical industry, commodity inspection and other testing.
Key Features
- Zero calibration and span calibration
- Rugged, versatile, one-hand operation
- Automatic Shutdown
- Under voltage and error indicator
- Prompt beep operation
- Light weight, portable and durable
- Ruby wear probe
- Suitable for use in harsh conditions
Technical Specifications
| Measuring Principle | Magnetic induction method or Eddy current method |
| Measuring Range | 1 μm to 6000 μm |
| Workpiece | convexity of the minimum radius of curvature (in) 0.19, (mm) 5/Au 25 |
| Minimum Contact Area of Diameter | 0.39 in x 0.39 in (10 mm x 10 mm) |
| Resolution | 1 μm |
| Measurement Accuracy | ± [(1~3) H +1] μm (full scale calibration) |
| Matrix Street Thickness | 0.007 in (0.2 mm) |
| Power | Four 1.5-volt AAA battery |
| Temperature | 32 °F to 140 °F (0 °C to 60 °C) |
| Humidity | 20 % to 75 % |
| Dimensions | 4.40 in × 2.71 in × 1.10 in (112 mm × 69 mm × 28 mm) |
| Weight | 0.18 lbs (82 g) (without batteries) |
Additional Information
Materials
Gauge, Reference Fe Base, Certified Plastic Shims, Battery
Operation Guide
- Power-on and Warm-up
Keystroke once; wait until is displayed on the LCD. Now the gauge is ready for measurements.
 - Zeroing
Keystroke twice; when is displayed, place flat on surface; hold steady.
After measurement is obtained, is shown and gauge beeps. Then lift the gauge.
 - Two-Point User Calibration
Keystroke three times; gauge enters into the mode of two-point user calibration.
When is shown on the LCD, please conduct a measurement on the base. When is shown on the LCD, place Shim S1 on the base and conduct a measurement on Shim S1. When
  is shown on the LCD, place Shim S2 on the base and conduct a measurement on Shim S2. When
  is displayed, it is ready for use.
 - Unit Change
Keystroke four times; convert from ums to mils or vice versa. - Reset
Keystroke five times; gauge resets.
The device powers down after 60 seconds of no activity.


