Description
Overview
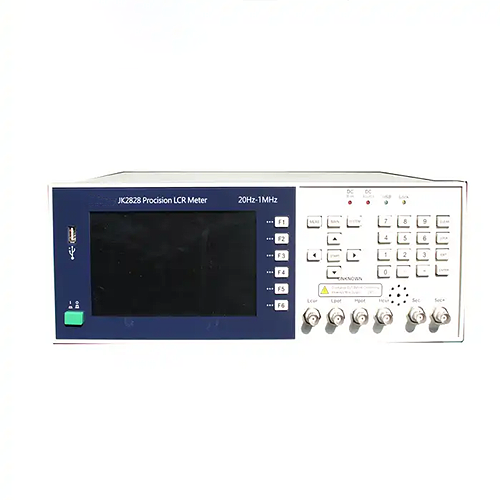
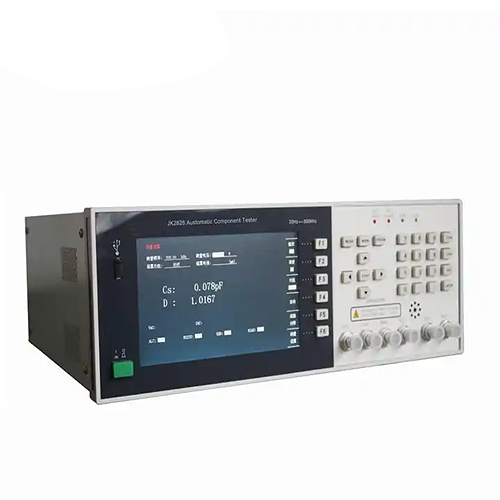
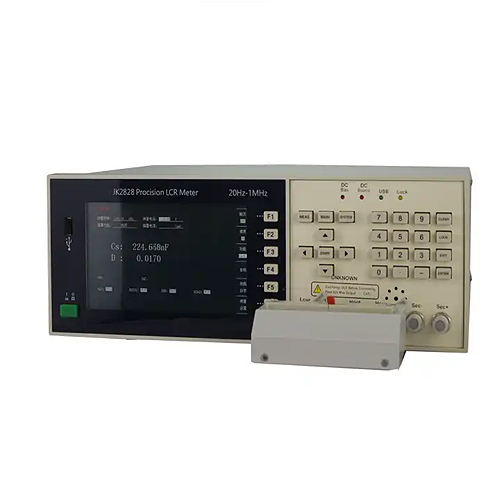
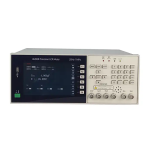
GAOTek high quality LCR meter serves as a versatile element parameter tester for inspecting various electronic components. Featuring a 7 in (17.78 cm) 800 x 480 color TFT LCD display, high speed, stability, a frequency ranges from more than 20 Hz to 1 MHz, and an accuracy of 0.05%, this product is used for incoming component inspection, product quality assessment along the production line, goods inspection, and laboratory measurement requirements.
Features
- Brand new 32-bit processor core
- 7 in (17.78 cm) true color TFT screen
- 20 Hz to 1 MHz test frequency
- 05% of basic measurement accuracy, fast test (75 t/s)
- Graphics scanning analysis function.
- Multi-parameter testing capabilities.
- The test voltage or current automatic level control of ALC function
- 4 different signal source output impedance
- The built-in comparator, 10 bins and bin counters
- 10 spots list sweep function
- Internal 100 group set file.
- 500 U disk test file can be saved or invocation.
- 0 V, 1.5 V and 2 V internal DC bias voltage
- Optional ±5 V (±100 mA) and 1 A internal DC bias source
- Can be upgrade and update by U disk instrument software version.
- U disk print screen, real-time data save.
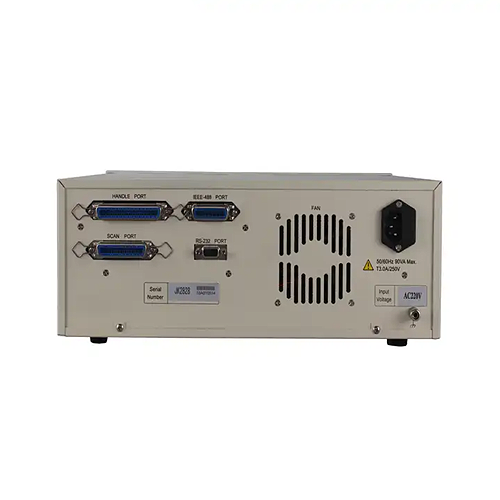
- Standard configuration: RS232C, USB HOST, USB DEVICE, HANDLER, etc.
Technical Specifications
| Test frequency | 20 Hz to 1 MHz, 0.01 Hz resolution | ||
| Test parameter | |Z|, |Y|, C, L, X, B, R, G, D, Q, θ, DCR | ||
| Basic test accuracy | 0.05% | ||
| Equivalent circuit | Series, parallel | ||
| Mathematical function | Absolute value deviation, % | ||
| Range mode | Auto, Hold, manual | ||
| Trigger mode | Internal, Manual, External, Bus | ||
| Measurement speed(≥1kHz) | Fast: 75 t/s, Med: 12 t/s, Slow: 3 t/s | ||
| Averaging rate | 1 to 255 | ||
| Delay time | 0 s to 60 s, n 1 ms step by step | ||
| Correction function | Open, short, load | ||
| List sweep | 10 points | ||
| Display | 800 × 480 RGB 7 in (17.78 cm) 16: 9 TFT LCD display | ||
| Test signal | |||
| Output impedance | 30 Ω, 50 Ω, 100 Ω | ||
| Test level | Normal :5 mV to 2 V Accuracy: 10%, with step of 1 mVConstant level: 10 mV to 1 V accuracy: 5%, with step of 1 mV | ||
| DC bias source | interior | 0 V, 1.5 V, 2 V, Accuracy: 1% | |
| option | ±5 V (±100 mA) DC bias source option | ||
| 1 A: 0 A to 1 A DC bias current source option | |||
| Display range | |||
| |Z|, R, X | 0.01 MΩ to 99.99 MΩ | ||
| DCR | 0.001 MΩ to 99.99 MΩ | ||
| |Y|, G, B | 0.00001 µS to 99.99 S | ||
| C | 0.00001 pF to 9.99 F | ||
| L | 0.00001 µH to 9999.99 H | ||
| D | 0.00001 to 9.99 | ||
| Q | 0.00001 to 9999.9 | ||
| θ(DEG) | -179.999º to 179.99º | ||
| θ(RAD) | -3.14 to 3.14 | ||
| Others | |||
| Comparator function | 10 bins: 9 pass bins, 1 fail bin, AUX bin | ||
| Multiparameter | Four parameters can be chosen optionally to measure and display at the same time | ||
| Curve scanning function | A variety of test conditions, the piece to be measured for graph scanning separation. | ||
| Memory | Internal storage, USB extended storage. | ||
| Interface | Standard: RS232C, HANDLER, USB HOST, USB DEVICE, headphone jack Solid interface; Optional: GPIB, LAN |
||
| Dimensions (W x H x L) | 14.76 in x 5.31 in x 13.78 in (375 mm x 135 mm x 350 mm) | ||
| Weight | Approx 15.43 lb (7 kg) | ||

