Description
Overview
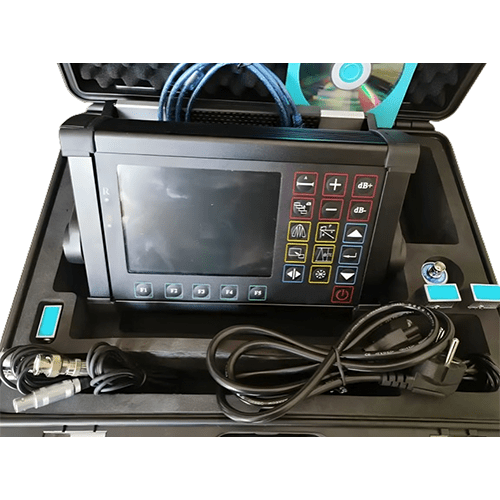
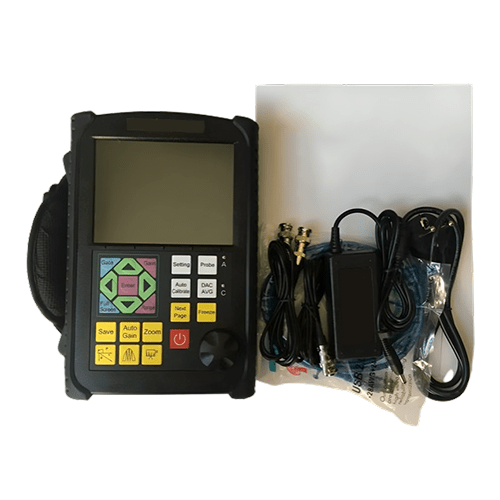
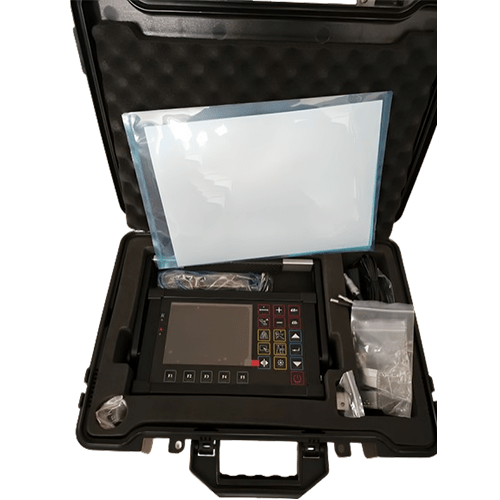
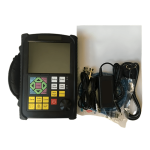
This industrial crack detector has a range of scanning 0 in to 393.70 in, working temperature is 14° F to 122° F and weight is 3.75 lbs.
Features
- Automated calibration of transducer Zero Offset and/or Velocity.
- Automated gain, peak hold, and Peak memory.
- Automated display precise flaw location.
- Automated switch three staff gauge.
- 100 independent setup, any criterion can be input freely, we can work in the scene without test block.
- Big memory of 300 A graph.
- Gate and DAC alarm, Acoustic-Optical alarm.
- RS232/USB port, communication with pc is easy.
- The embedded software can be updated online.
- Li battery, continue working time up to 10 hours.
- Display freeze.
- Automated echo degree.
- Angles and K-value.
- Lock and unlock function of system parameters.
- Dormancy and screen savers.
- Electronic clock calendar.
- Two gates setting and alarm indication.
- High-speed capture and very low noise.
- DAC、AVG、B Scan ; Solid metal housing.
- Automated calculates the size of the flaw with wide bottom type in AVG function.
- AWS D1.1.
- 6dB DAC functions.
- Automated make video of test process and play.
- Provides high contrast viewing of the waveform from bright, direct sunlight to complete darkness and is easy to read from all angles.
- Powerful pc software and reports can be exported to excel; It has a gate setting and alarm function. The position and width of the gate can be arbitrarily set on the screen, and an incoming wave alarm can be set.
Technical Specifications
| Designation | Technical Data |
| Range of Scanning | Range of scanning:0 in to 393.70 in (0 mm to 10000 mm) Steps: 2.5,5,10,20, 30,40,50,60,70,80,90,100,150,200,250,300,350,400,450,500, 600,700,800,900, 1000, 2000,3000,4000,5000,6000,7000,8000,10000Adjusting step: 0.003937 in (0.1 mm) 0.0984 in to 3.9331 in (2.5 mm to 99.9 mm), 0.04(1 mm) 3.94 in to 393.70 in(100 mm to 10000 mm) |
| D-delay (ms) | D-delay (ms):-20 to +3400 Steps: -20,-10,0.0, 10, 20, 50,100,150,200,250,300,350,400,450,500,600,700,800, 900,1000,1500, 2000,2500,3000,3400. Adjusting steps: 0.1(-20ms to 999.9ms),1(1000 ms to 3400 ms) |
| P-delay (ms) | P-delay:0.0 to 99.99 Adjusting steps: 0.01 |
| MTLVEL(m/s) | MTLVEL:1000 to 15000 7 fixed levels: 2260,2730,3080,3230,4700,5920,6300,12000 Adjusting steps: 1 |
| Working Mode | Single probe (receiving and sending), double probe (one for receiving and another for sending), transmission (transmission probe) |
| Frequency Range (MHz) | 0.5 to 20 |
| Gain Adjustment (dB) | 0 to 120. Adjusting step: 0.0,0.1,0.5,1,2,6,12 |
| Reject | 0 % to 80 % of screen height, step: 1 % |
| Vertical Linear Error | Vertical linear error is not more than 3% |
| Horizontal Linear Error | Not more than 0.2 % in the scanning range |
| Sensitivity Leavings | ≥ 62 dB |
| Dynamic Range | ≥ 34 dB |
| Alarm | Three modes, i.e. forbidden wave, loss wave and auto |
| A-Scan Display Area | Full screen or local A-Scan display freezing and de-freezing A-Scan filling |
| Data Save | 300 A-Scan images (including setting of instrument) |
| Standard Communication Interface with PC | RS 232 / USB |
| Measuring Unit | mm / inch |
| Battery | Li battery 7.4 V 4800 mAh |
| Power Adaptor | Input 100 V to 240 V / 50 Hz to 60 Hz Output 9 VDC / 1.5 A |
| Working Temperature | 14° F to 122° F (- 10° C to 50° C) |
| Working Humidity | 20 % to 90 % |
| Port Type | BNC / LEMO |
| Overall Dimension | 9.45 in x 5.91 in x 1.97 in (240 mm × 150 mm × 50 mm) |
| Weight | 3.75 lbs. (1.7 kg) |
| Main Unit | 1 |
| 1.5A/9V Power Adaptor | 1 |
| Probe Connecting Cable | 2 |
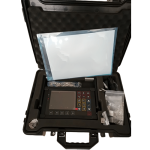
| Carrying Case | 1 |
| Instruction Manual | 1 |
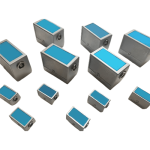
| Straight Probe | 0.39 in (10 mm) 4 MHz (One) |
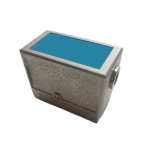
| Angle Probe | 8 × 9 60° , 4 MHz (One) |
| Serial Cable | 1 (9 pin) |
| Communication Software for PC | 1 set |


