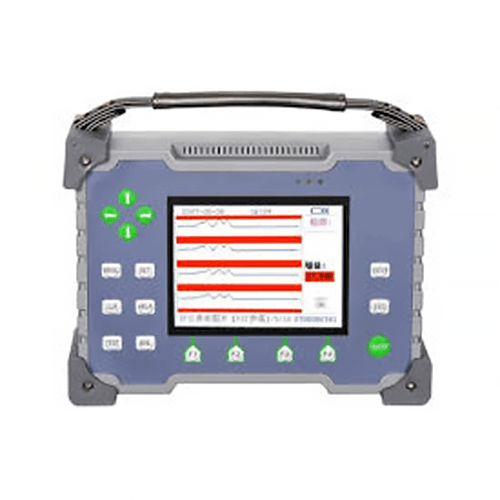
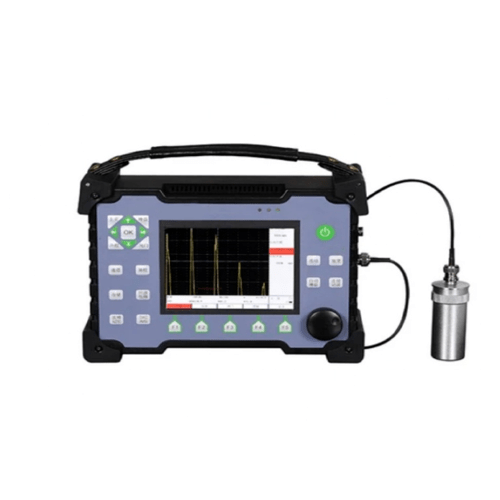
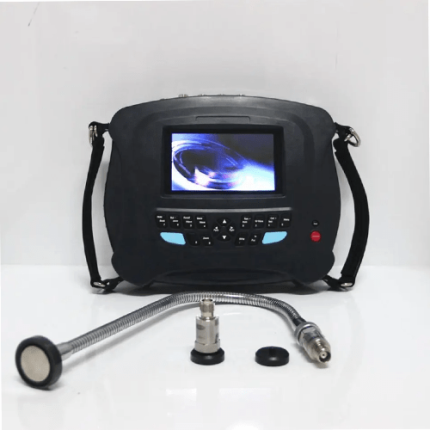
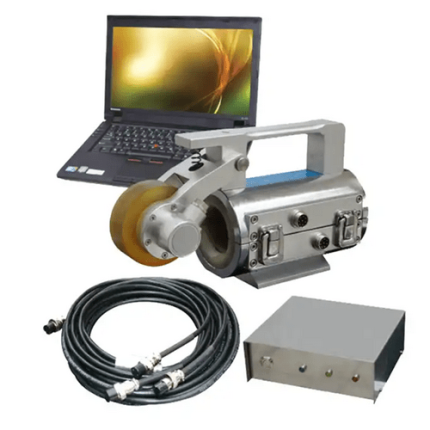
Description
Features
- Distance compensation and the amplification of wave form inside gate
- It makes it easier to distinguish the defect signals
- Notebook palm structure, elegant and generous
- American Welding Society Standard AWS D 1.1 / D 1.5
- The use of high-luminance color screen, clear instrument display even in bright daylight, suitable for various operating conditions
- Automatic testing of the probe frequency
- Automatic optimization of the square-wave width
- Achieve the optimal match of the probe and test instrument
- Visualized thickness alarm function
- Continuous storage of waveform and multi-waveform measuring modes
- Automatic measuring of apparatus indicators and automatic peak search function
- A variety of testing standards setting for choice.
- Mass storage of up to 1000 waveforms and the corresponding parameters
- Automatic generation of DAC curve, no restriction of sampling points
- Compensation and modification accepted
Technical Specifications
| Detection range | 0 in to 47.24 in ( 0 mm to 1200 mm), the minimum display range 0.004 in (0.1 mm) |
| Operating Frequency | 0.3 MHz to 20 MHz, sub-broadband, narrowband two tranches |
| Pulse repetition frequency | in total 10 tranches, frequency adjustable. |
| Gain | 0 dB to 110 dB, 0.5/2/6/12 step for choice |
| Testing wave modes | positive, negative, bi-directional, radio frequency (RF) |
| Monitoring Gate | two independent measurement gates. |
| Vertical Linearity Error | ≤ 3% |
| Level Linearity Error | ≤ 0.1% |


