Description
Overview
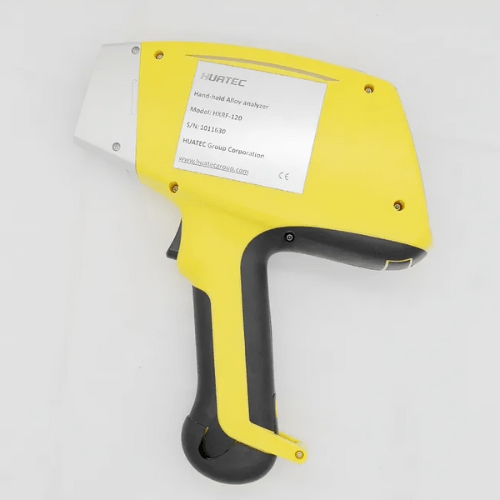
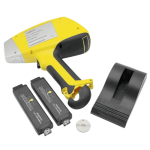
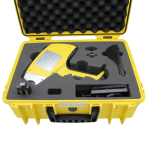
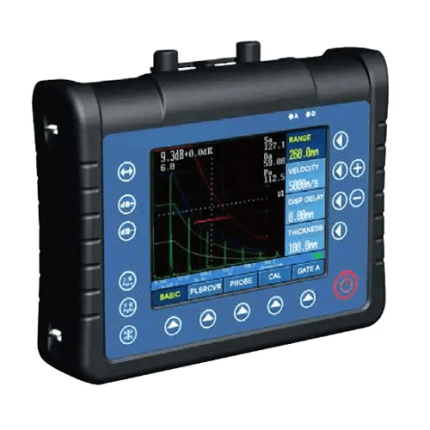
GAOTek X-Ray flaw detector is a powerful weapon in material identification (PMI) in production of high temperature and high pressure boiler, container, pipe, etc; metal identification in iron and steel metallurgy, nonferrous metals, aerospace, weapons, submarine vessels, etc; metal material identification in engineering installation and construction projects in areas of the petrochemical refining, fine chemical, pharmaceutical, power plant, aerospace, etc to ensure equipment and material acceptance meet the project specified requirements; scrap metal recycling industry. This X-Ray Flaw Detector is applicable to quality control, material classification, alloy identification, accident investigation, etc, which tackles the fundamental difficult problem of raw material analysis. As an innovation of many modern technologies, it is a great helping hand in these applications. Users can personalize the analysing system according to their own needs.
Features
- Excellent Performance
- One-touch operation
- Non-destructive testing (NDT)
- Analysis software
- Scrap metal recycling and sorting
- Application fields, safety and standards
- Quality control, Quality Assurance (QC or QA) and Error-proofing
- Data processing and Enterprise Resource Planning (ERP)
Technical Specifications
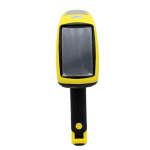
| Display | Rotatable VGA color full Touch screen |
| Configuration Design | Ergonomically designed configuration, Integrated Design of processor and instrument, waterproof and dust-proof |
| Excitation Source | X-Ray Tube, Au (Ag, W, Ta, Pb) target, Maximum Voltage 50 KV, Maximum Current 40 uA. |
| Detector | High-Performance, High-Sensitivity, High-Resolution Si – Pin X-ray detector |
| Analysis Range | Plastic Mode: Cd, Pb, Hg, Cr, Br, Cl, Ba, Sb, Sn, Bi, Pb, Br, Se, As, Hg, Au, Zn, Cu, Ni, Fe, Cr, V, Ti. |
| Electronic metal mode: Al, Ba, Sb, Sn, In, Cd, Pd, Ag, Mo, Nb, Zr, Bi, Pb, Hg, Br, Se, Au, W, Pt, Zn, Cu, Ta, Hf, Ni, Co, Fe, Mn, Cr, V, Ti | |
| Operation System | Mobile Windows CE system |
| Filters | Six Filters are installed in the instrument which can be selected automatically according to the testing modes. |
| Calibration | Built-in standard piece, the calibration can be done anytime anywhere without issues about loss or pollution of standard sample. |
| Cooling Mode | Peltier Semiconductor Cooling the refrigeration temperature -35 |
| Electric Source | 110 V to 240 V or AC, 50 Hz or 60 Hz. Battery charger 110 V to 240 V or AC, 50 Hz or 60 Hz. |
| System Electronic Component | Intel 400 MHz Strong Arm |
| Operation | Controlled by Analysis trigger Customer can set analysis time freely |
| Instrument Extending | Customer can set up testing curve by themselves |
| Testing And Display | Qualitative and Quantitative analysis of the components and Result Display. Spectrogram Display. Automatic display for double sigma error of the Testing Data. |
| Data Storage | 8 G high-capacity data storage card, Storage up to more than 40000 Testing Data and Spectrogram |
| Date Transfer
Testing Report |
Bluetooth wireless, USD, and RS-232 serial communications interfaces are included in every analyzer. Advanced Data Transfer PC software lets you set user permissions, print certificates of analysis to document results, or operate the analyzer right from your PC. |
| The Convenience On-Site | No requirement for the shape of materials. Space measurement is available for the tested surface. |
| Measurement | 11.81 in x 3.54 in x 8.66 in (300 mm x 90 mm x 220 mm) |
| Environmental Temperature | -4 °F to 122 °F (-20 ℃ to 50 ℃) |
| Weight | 3 lbs (1.4 Kg) |


