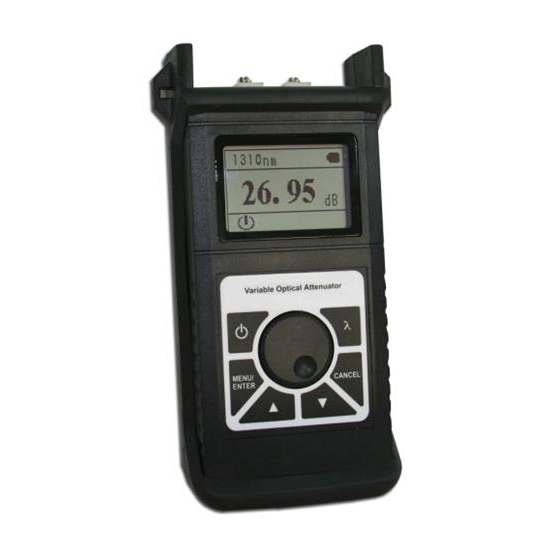
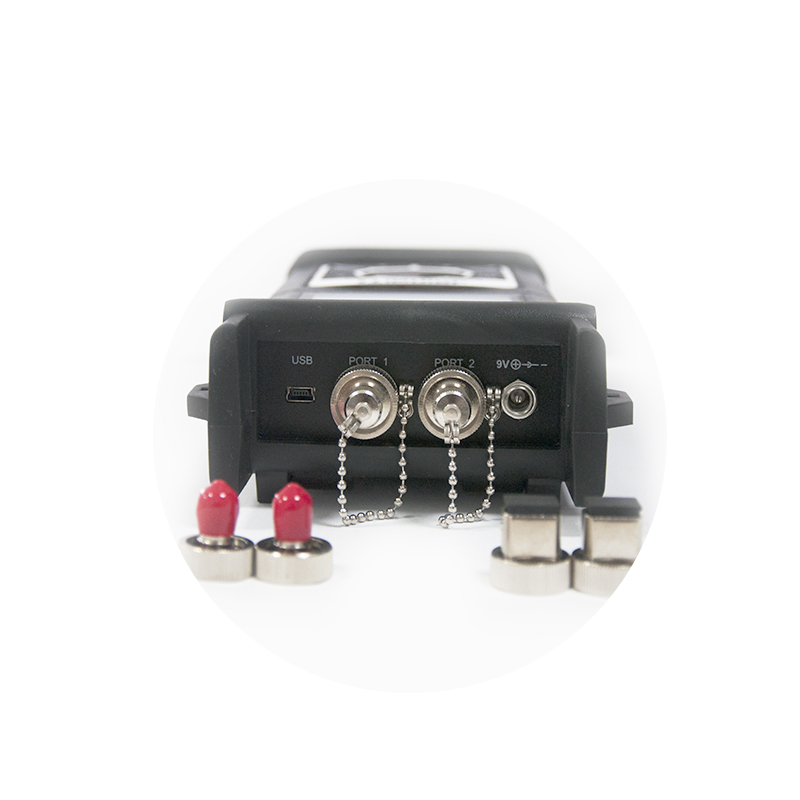
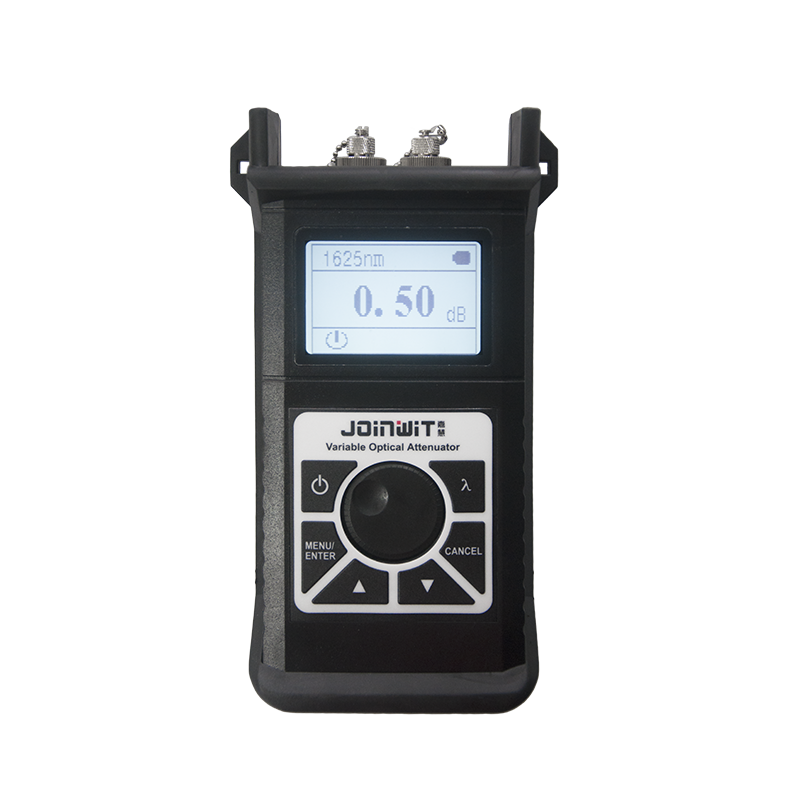
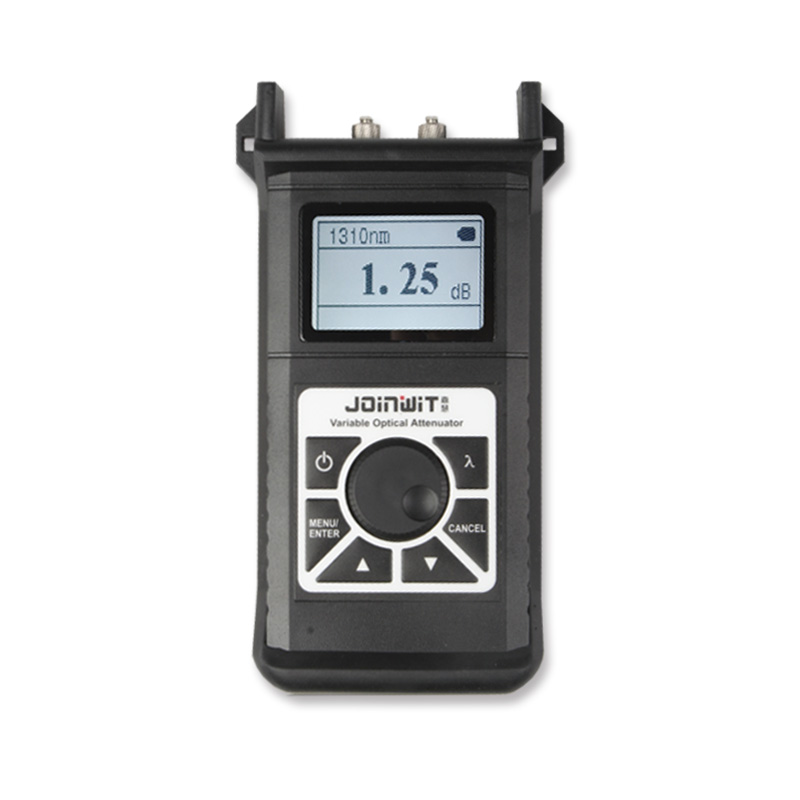
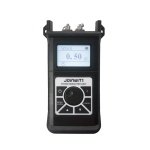
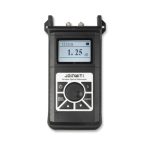
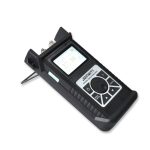
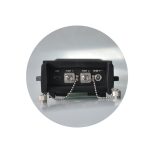
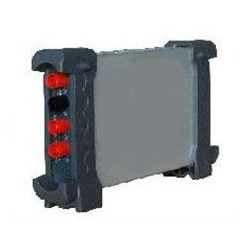
Description
Key Features
- Built-in neutral density filter
- Attenuation range is from 2.5 dB to 60 dB
- Stepwise attenuation; 0.05 dB steps
- Portable, rugged, lightweight and easy to use
- Low battery power indication
- Memorizes the attenuating value and step on shut down and restores the values on next power up
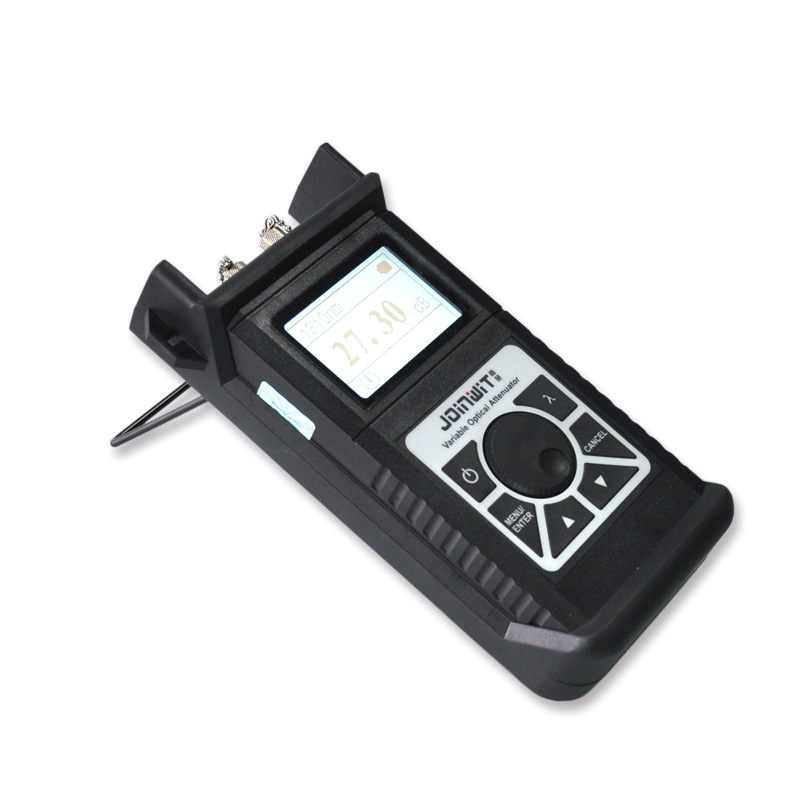
- Combines the functions of both an attenuator and an optical power meter
- Optical auto-off function deactivates after 10 minutes of idle time
- Displays absolute and relative attenuation value
- Wavelength, input power, output power, current attenuation and selected step size can be displayed simultaneously on LCD
Technical Specifications
| Wavelength Range | 1260 nm ~ 1650 nm |
| Fiber Model | 9/125 µm SM |
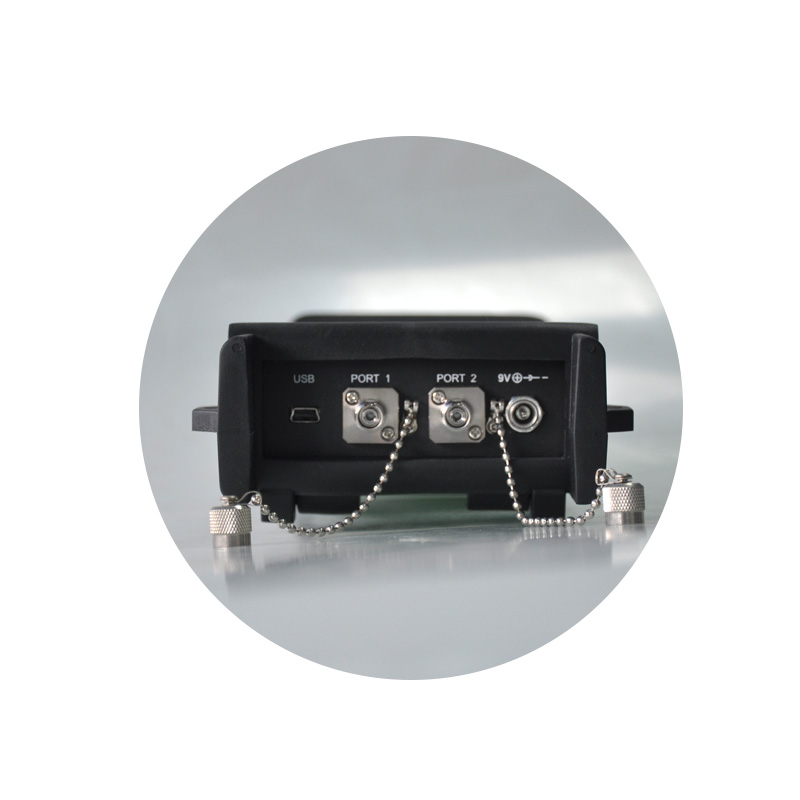
| Connector | FC/PC |
| Calibrated Wavelength | 1310 nm/1490 nm/1550 nm/1625 nm |
| Attenuation Range | 2.5 dB to 60 dB |
| Resolution | 0.05 dB |
| Minimum Insertion Loss | < 2.5 dB |
| Linearity | ± 0.5 dB |
| Repeatability | ± 0.2 dB |
| Overall Attenuation Accuracy | ± 0.8 dB |
| Return Loss at Input/output | >35 dB (typical value: 40 dB) |
| Maximum Acceptable Input | +20 dBm |
| Rechargeable Battery | 7.4 V |
| Power Supply Adapter | 7 V ~ 8.5 V |
| Weight | 7.05 oz. (200 g) |
| Dimensions | 8.27 in x 6.10 in x 2.17 in (210 mm x 155 mm x 55 mm) |
| Humidity | 0 % to 85 % |
| Operating Temperature | 32 ˚F to 104 ˚F (0 ˚C to 40 ˚C) |
| Storage Temperature | 14 ˚F to 140 ˚F (-10 ˚C to +60 ˚C) |
Additional Information
Keypad:
- “
 ” Key: To turn on/off the unit press the key for 2 seconds. This key is also used to activate or deactivate the auto-off function.
 - “MENU/ENTER” Key: Menu/confirm.
- “▲” Key: This key is used to select the function or to increase the value.
- “▼” Key: This key is used to select the function or to decrease the value.
- “CANCEL” Key: This key is used to Exit/cancel the operation.
- “λ” Key: Switch the wavelength from one value to another value.
- “Rotating Dial” Key: Rotating dial is used to rotate in clockwise to increase the attenuation value, or to decrease the attenuation value. The attenuation step is in the range of 0.5 dB.
Function:
- To turn on the unit press “
 ” this key which then displays the absolute or relative attenuation value. This key is also used to activate or deactivate auto-off function.
 - The unit shut down automatically if the unit is idle for 10 minutes.
Picture: 1
Picture: 2
Edit the wavelength
To edit the wavelength click the option “edit the wavelength” and press “MENU/ENTER” key to display the status of wavelength: 1300 nm/1310 nm/1490 nm/1550 nm/1625 nm.
Picture: 3
Picture: 3.1
To change the status of the wavelength press “MENU/ENTER” key again. It doesn’t show the hidden wavelength when switching the wavelength.
Picture: 4
Set “REF”
Under the option, press “MENU/ENTER” key to set reference value.
- Select option 1, to set the current attenuation value as the reference value. Press “MENU/ENTER” key back to picture: 2
- Select option 2, to edit the value as the reference value.
Picture: 5
- To increase or decrease the value press “▲”“▼”
- To choose the value to be revised press “MENU/ENTER” key.
Picture: 6
Display the relative/absolute value
Picture: 7
- Choose the absolute value, it is back to Picture: 1 interface.
- Choose the relative value, it is back to Picture: 2 interface.
LCD backlight adjustment
Picture: 8
Press “▲”“▼” key to adjust the lightness of LCD screen as of Picture: 8
Operation:
Insert the battery in unit. Press “![]() ” the key to turn on the unit. It will show the absolute or relative attenuation value.
” the key to turn on the unit. It will show the absolute or relative attenuation value.
Picture: 9
When the battery is low or empty “![]() ”, take out the battery and charge it on time and when it’s not working, insert the power supply to power the whole unit. “
”, take out the battery and charge it on time and when it’s not working, insert the power supply to power the whole unit. “![]() ” this icon denotes the external power is under use. The auto-shut down function is invalid if using the external power.
” this icon denotes the external power is under use. The auto-shut down function is invalid if using the external power.
- Take out the dust-proof cap and connect it to the light source. Press “λ” key to select the wavelength.
- Set 2.5 dB as shown in Picture: 9 as the reference value.
To enter the menu press “MENU/ENTER” key.
To set or edit the “REF” level press “▼” key and choose the option.
- Select option 1 “Set REF Level” and set the REF value as 2.50 dB.
- To confirm the value press “MENU/ENTER” key and return to interface Picture: 11.
- To cancel the operation press “CANCEL” key.
Picture: 10
Picture: 11
Press “▼” key to select option 2 “Edit REF value”. User could define the REF value. Press “MENU/ENTER” key to edit the value as shown in Picture: 12. Press “▲” “▼” to change the value and press “MENU/ENTER” key to choose the digits to be revised and press it again to save. Press “CANCEL” key to exit or cancel.
Picture: 12
After setting the REF value as 2.5 dB in the Picture: 11 rotate clockwise using the “Rotating Dial”, the attenuation step is 0.5 dB. If continuously rotated to attenuation value -19.15 dBr as shown in Picture: 13, it means this optical link relatively attenuates -19.15 dBr.
Picture: 13
After the test, press “![]() ” this key to turn off the unit and cover back the dust-proof cap.
” this key to turn off the unit and cover back the dust-proof cap.
Maintenance:
- It is important to keep all the connectors and surfaces free from oil, dirt or other contamination for proper operation.
- Keep using one type of adapter to avoid excess loss from different connectors.
- Turn off the unit and cover dust proof cap after the test.
- Use the power adapter within regulated voltage when using external power
- Take the battery out when it is not in use for a period of time.
Troubleshooting:
| Description | Possible Reason | Method |
| No display after turning on the unit | Battery is weak/Fail to turn on the unit | Turn on the unit once again/ Charge battery |
| Wrong test result | Dirty connection or bad connection | Clean the connector and
Re-connect the fiber. |
Note:
- Ensure the connector is clean before the test.
- Cover the dust-proof cap when the connector is not in use
- Use the original charger to charge the battery. Otherwise, it leads to serious damages.

