| Measuring range |
0 µm to 6000 μm |
| Accuracy |
± [(1% to 3%) H + 1] µm, H refers to thickness of testing piece |
| Minimum resolution |
1 μm |
| Min curvature of the min area |
Convex: 0.059 in (1.5 mm)Concave: 0.78 in (20 mm) |
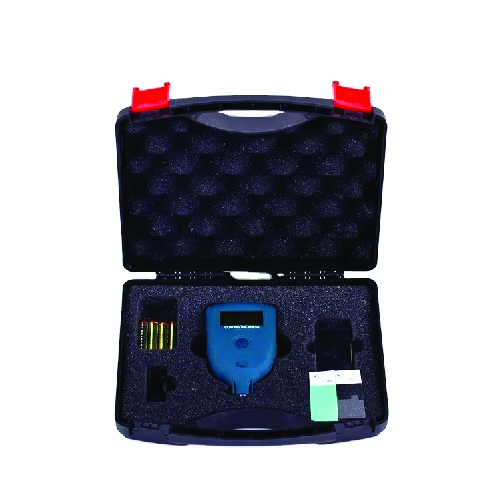
| Standard configuration |
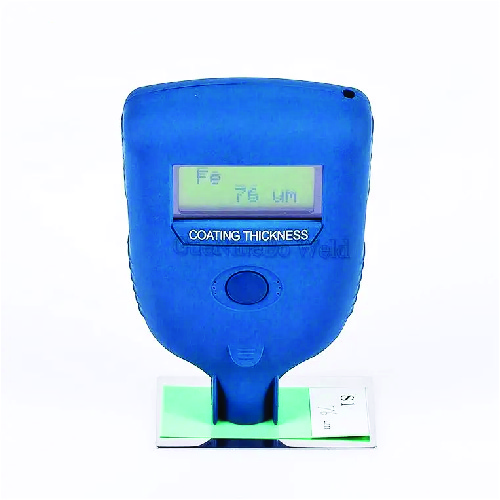
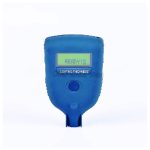
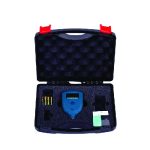
Main unit, 2 Calibration specimens (S1, S2), Fe and N Fe substrate |
| Dampness |
20% to 90% |
| Power supply |
AAA Alkaline battery |
| Magnetic field |
No strong magnetic field environment |
| Diameter of the min area |
0.39 in (10 mm) |
| Critical thickness of substrate |
0.01 in (0.5 mm) |
| Operating temperature |
32 °F to 104 °F (0 °C to 40 °C) |
| Dimensions |
5.9 in x 2.16 in x 0.90 in (150 mm x 55 mm x 23 mm) |
| Weight |
0.26 lb (120 g) |

