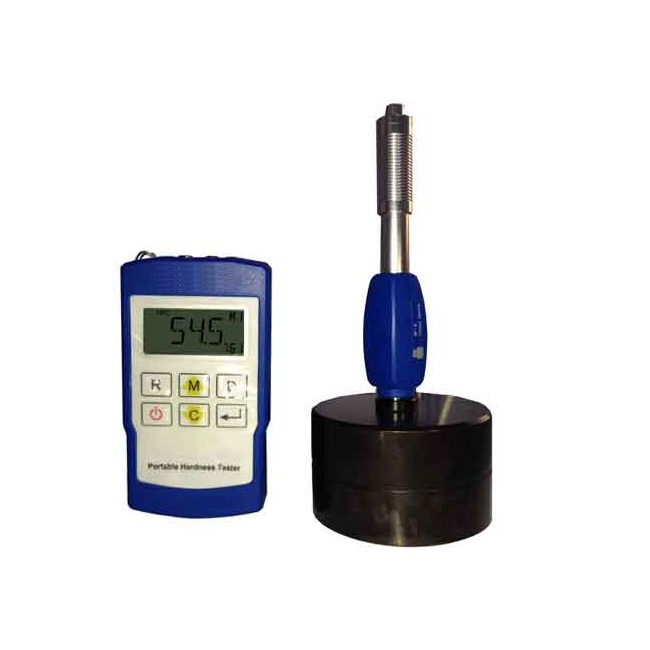
Description
Key Features
-Linear accuracy for any angles
– Different probe can be identified automatically
– Dual values( Leeb value and one conversion value) can be displayed at the same screen
– Big LCD display with backlight
– It can connect micro-printer wirelessly
– 400 data for memory
– Customer re- calibration allowed
– Power off automatically
– More economic and more convenient to use
Technical Specifications
| – Accuracy: | ±HRC0.2 |
| – Display: | Digital LCD with backlight |
| – Hardness scale: | HL/HRC/HRB/HB/HV/HS/σb |
| – Measuring range | : HL170-960 / HRC17-70 / HRB13-109 / HB20-655 / HV80-940 / HS32-99.5 / σb(rm)255-2639N/mm2 |
| – Impact device | : r/f wireless probe D (default) r/f wireless probe DC / DL / C / D+15 (optional) |
| – r/f communication distance: | 10m in space |
| – r/f frequency: | 2.4GHz |
| – Impact direction: | Universal angle (UA) type |
| Materials: | 10 common metal materials |
| – Memory: | 400 data can be stored and re-readable |
| – Statistics: | Calculated automatically |
| – Re-calibration: | Allowed by user |
| – Indicator: | Low battery |
| – Communication interface: | Wireless micro-printer (optional) |
| – Power off: | Auto |
| – Power supply: | 1.5V AA alkaline battery x 2 for main unit, 3.7V Li-ion rechargeable – battery for wireless probe (charged via USB port) |
| – Working environment: | 14~113F(-10~+45C) |
| – Dimension | 4.8 x 2.6 x 1.18 in (124x67x30mm) |


