Description
Overview
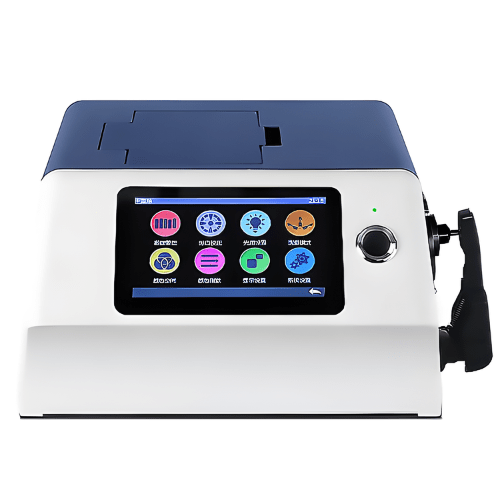
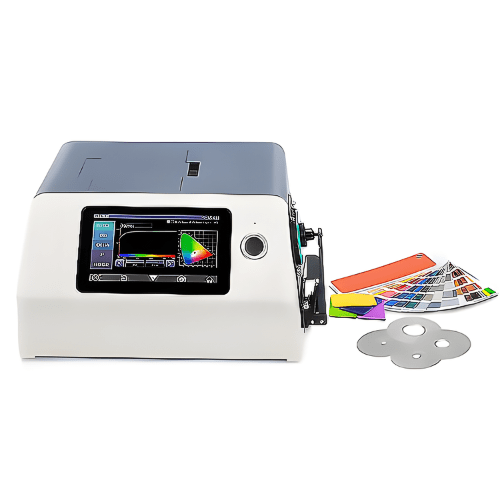
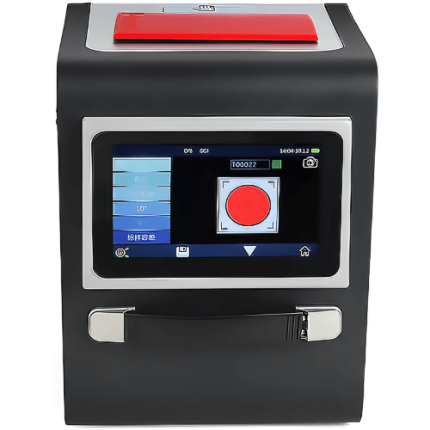
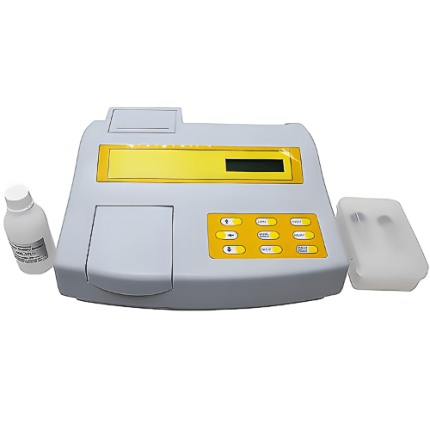
GAOTek benchtop digital colorimeter is designed for accurate analysis and transmission of laboratory color and appearance of solids, liquids, pastes, powders, pills, and granules in a more comprehensive, streamlined process. This product is widely used in paints, inks, textiles, garments, printing and dyeing, printing etc. industries for color transfer and quality control.
Features
- 7 in (17.7 cm) TFT Color Capacitive Touchscreen; Concave Grating
- Double Array 256 Image Element CMOS Sensor
- Long life-span stable LED, UV LED
- With reflective and Transmissive spectrum, accurate Lab value
- Good to calculate color formula and do precise color transmission
- Auto identify measuring aperture
- Users also can customize apertures
- Built-in temperature sensor to monitor and compensate
- The measuring temperature to ensure the measurement more precision
- Wavelength 360 nm to 780 nm
- Built-in 400 nm cut off or 460 nm cut off (only xenon lamp edition)
- More professional in UV measurement
- Independent light source detector
- Continuously monitor the condition of light sources
- To ensure the light source reliable
- Quality Management Mode, Sample Mode
- Meet more users’ requirement
- Reflection sample holding tool, transmission fixture
- Micro 0.15 in (4 mm) aperture transmission test components
- Instrument inversion test components
- Applicable to more working conditions
- Big capacity data storage, for 20000 pieces’ test result
- Built-in camera locating
- More powerful extended functions at the PC software
Technical Specifications
| Optical Geometry | Reflect di, 8°, de 8° (diffused illumination, 8-degree viewing angle), SCI (specular component included) or SCE (specular component excluded), Include UV or excluded UV light source transmittance, di 0°, de 0° (diffuse illumination 0° viewing), SCI (specular component included) or SCE (specular component excluded), Include UV or excluded UV light source, Haze (ASTM D1003), Conforms to CIE No.15, GB or T 3978, GB 2893, GB or T 18833, ISO7724 or 1, ASTM E1164, DIN5033 Teil7 |
| Integrating Sphere Size | 6 in (Φ 154 mm) |
| Light Source | 360 nm to 780 nm, Combined LED Light, 400 nm cut-off light source |
| Spectrophotometric Mode | Concave Grating |
| Sensor | 256 Image Element Double Array CMOS Image Sensor |
| Wavelength Range | 360 nm to 780 nm |
| Wavelength Interval | 10 nm |
| Semi band Width | 10 nm |
| Measured Reflectance Range | 0% to 200% |
| Measuring Aperture | Reflective, 1.18 in or 1 in (Φ 30 mm or Φ 25.4 mm), 0.39 in or 0.31 in (Φ 10 mm or Φ 8 mm), 0.23 in or 0.15 in (Φ 6 mm or Φ 4 mm), Transmissive 1 in (Φ 25.4 mm), Remark 1. Automatic identification of switch caliber, 2. Customized Configuration caliber and lens position |
| Specular Component | Reflectance, SCI and SCE or Transmittance SCI and SCE |
| Color Space | CIE LAB, XYZ, Yxy, LCh, CIE LUV, Mussell, s-RGB, Hunter Lab, βxy, DIN Lab99 |
| Color Difference Formula | ΔE x ab, ΔE x uv, ΔE x 94, ΔE x cmc (2, 1), ΔE x cmc (1, 1), ΔE x 00, DINΔE 99, ΔE (Hunter) |
| Other Colorimetric Index | WI (ASTM E313, CIE or ISO, AATCC, Hunter), YI (ASTM D1925, ASTM 313), MI (Metamerism Index), Staining Fastness, Color Fastness, Color Strength, Opacity, 8° Glossiness, Gardner Index, APHA or Pt-Co Index, 555 Index, Haze (ASTM D1003) |
| Observer Angle | 2° or 10° |
| Illuminant | D65, A, C, D50, D55, D75, F1, F2, F3, F4, F5, F6, F7, F8, F9, F10, F11, F12, CWF, DLF, TL83, TL84, TPL5, U30 |
| Displayed Data | Spectrogram or Values, Samples Chromaticity Values, Color Difference Values or Graph, PASS or FAIL Result, Color Offset |
| Measuring Time | About 2.4 sec (Measure SCI and SCE about 5 sec) |
| Repeatability | Spectral reflectance 1 in (Φ 25.4 mm) or SCI, Standard deviation within 0.05% (400 nm to 700 nm) within 0.04%) Chromaticity value 1 in (Φ25.4 mm or SCI), Standard deviation within ΔE x ab 0.02 ( When a white calibration plate is measured 30 times at 5 sec intervals after white calibration) Spectral Transmittance 1 in (Φ 25.4 mm or SCI), Standard deviation within 0.05% (400 nm to 700 nm, within 0.04%), Chromaticity value 1 in (Φ25.4 mm or SCI), Standard deviation within ΔE x ab 0.03 (When a white calibration plate is measured 30 times at 5 sec intervals after white calibration) |
| Inter-instrument Error | 1 in (Φ 25.4 mm) or SCI, Within ΔE x ab 0.15 (Average for 12 BCRA Series II color tiles) |
| Power | AC 24 V, 3 A Power adapter power supply |
| Illuminant Life Span | 5 years, more than 3 million times measurements |
| Data Port | USB and Print serial port |
| Data Storage | Standard 2000 Pcs, Sample 20000 Pcs |
| Operating Environment | 32 ℉ to 104 ℉ (0 ℃ to 40 ℃) |
| Operating humidity | 0% RH to 85% RH (no condensing), Altitude < 1.2 mi (2000 m) |
| Storage Environment | -4 to 122 ℉ (-20 ℃ to 50 ℃) |
| Storage humidity | 0% RH to 85% RH (no condensing) |
| Display | 7 in (17.7 cm) TFT color LCD, Capacitive Touch Screen |
| Dimension | 14.5 in x 11.8 in x 7.8 in (370 mm x 300 mm x 200 mm) |
| Weight | Approx. 21.1 lb (9.6 kg) |

