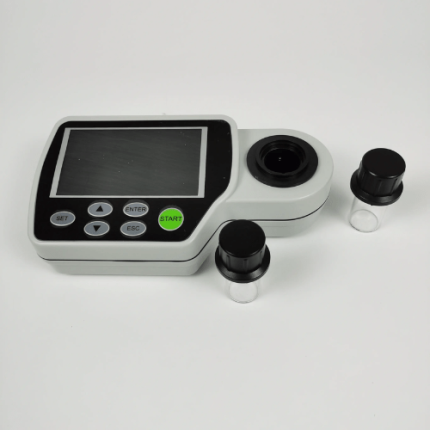
Description
Overview
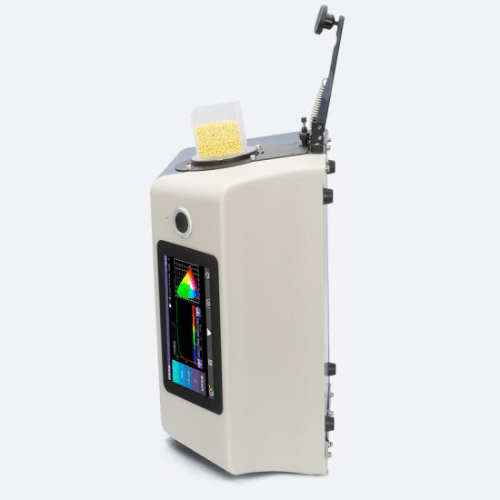
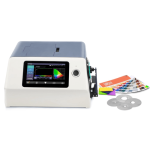
GAOTek benchtop grating spectrophotometer which is developed by the company independently with independent intellectual property. This product has many features, like 7 in (17.78 cm) TFT capacitive touch screen display, full illuminants, reflective d or 8 and transmissive d or 0 geometry (including or excluding UV). With very stable and precise colour measurement, large storage and powerful PC software all makes this product ideal for colour analysis within R&D and laboratory environments.
Features
- 7 in (17.78 cm) TFT Capacitive Touchscreen; Bluetooth 2.1; Concave grating
- 256 Image Element CMOS Sensor; Long life-span stable LED, UV LED
- Accurate Lab value, good to calculate colour formula and do precise colour
- Auto identify measuring aperture
- φ 1 in (25.4 mm) or 0.59 in (15 mm) or 0.31 in (8 mm) or 0.16 in (4mm)
- Built-in temperature sensor to monitor and compensate the measuring
- Wavelength range 360 nm to 780 nm
- Built-in 400 nm cut off or 420 nm cut off or 460 nm cut off
- Independent light source detector, continuously monitor the condition
- Multiple modes: Quality Management, Sample Mode; Meet more users
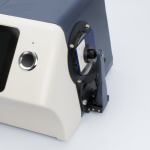
- Reflection sample holding tool, transmission fixture, micro 0.16 in (4 mm)
- Aperture transmission test, instrument inversion test components
- Big capacity data storage, for 40000 pieces test result
- Built-in camera locating
- More powerful extended functions at the PC software
Technical Specifications
| Optical Geometry | Reflect di 8°, de 8°(diffused illumination, 8-degree viewing angle), SCI (specular component included) or SCE (specular component excluded), Include UV or excluded UV light source Transmittance di 0°, de 0° (diffuse illumination 0° viewing) SCI (specular component included) or SCE (specular component excluded), Include UV or excluded UV light source, Haze (ASTM D 1003), Conforms to CIE No.15,GB/T 3978,GB 2893,GB/T 18833, ISO 7724 or 1, ASTM E 1164, DIN 5033 Teil 7 |
| Application | It is used for accurate analysis and transmission of laboratory colour. Apply in paints, inks, textiles, garments, printing and dyeing, printing etc industries for colour transfer and quality control. |
| Integrating Sphere Size | Φ 6.06 (154 mm) |
| Light Source | 360 nm to 780 nm, Combined LED Light, 400 nm cut-off light source |
| Spectrophotometric Mode | Concave Grating |
| Sensor | 256 Image Element Double Array CMOS Image Sensor |
| Wavelength Range | 360 nm to 780 nm |
| Wavelength Interval | 10 nm |
| Semi band Width | 10 nm |
| Measured Reflectance Range | 0% to 200% |
| Measuring Aperture | Reflective Φ1.18 in (30 mm) or Φ1 in (25.4 mm), Φ0.39 (10 mm) or Φ0.31 in (8 mm), Φ0.24 in (6 mm) or Φ0.16 in (4 mm) Transmissive Φ1 in (25.4 mm) Remark Automatic identification of switch Caliber and Customized Configuration Caliber and lens position |
| Specular Component | Reflectance SCI & SCE or Transmittance SCI & SCE |
| Colour Space | CIE LAB, XYZ, Yxy, LCh, CIE LUV, Munsell, s-RGB, Hunter Lab, βxy, DIN Lab 99 |
| Colour Difference Formula | ΔE x ab, ΔE x uv, ΔE x 94, ΔE x CMC (2 1), ΔE x CMC (1 1), ΔE x 00, DIN ΔE 99, ΔE (Hunter), |
| Other Colorimetric Index | WI (ASTM E 313, CIE or ISO, AATCC, Hunter), YI (ASTM D1925, ASTM 313), MI (Metamerism Index), Staining Fastness, Colour Fastness, Colour Strength, Opacity, 8° Glossiness, Gardner Index, APHA or Pt-Co Index, 555 Index, Haze (ASTM D 1003) |
| Observer Angle | 2° or 10° |
| IL luminant | D 65, A, C, D 50, D 55, D 75, F 1, F 2, F 3, F 4, F 5, F 6, F 7, F 8, F 9, F 10, F 11, F 12, CWF, DLF, TL 83, TL 84, TPL 5, U 30 |
| Displayed Data | Spectrogram or Values, Samples Chromaticity Values, Colour Difference Values or Graph, PASS or FAIL Result, Colour Offset |
| Measuring Time | About 2.4 s (Measure SCI & SCE about 5s) |
| Repeatability | Spectral reflectance Φ 1 in (25.4 mm) or SCI, Standard deviation within 0.05% (400 nm to 700 nm within 0.04%) Chromaticity value Φ 1 In (25.4 mm) or SCI, Standard deviation within ΔE x ab 0.02 ( When a white calibration plate is measured 30 times at 5 second intervals after white calibration) Spectral Transmittance Φ 1 in (25.4 mm) or SCI, Standard deviation within 0.05% (400 nm to 700 nm within 0.04%) Chromaticity value Φ 1 in (25.4 mm) or SCI, Standard deviation within ΔE x ab 0.03 ( When a white calibration plate is measured 30 times at 5 second intervals after white calibration) |
| Power | AC 24 V, 3 A Power adapter power supply |
| IL luminant Life Span | 5 years, more than 3 million times measurements |
| Display | 7 in (17.78 cm) TFT colour LCD, Capacitive Touch Screen |
| Data Port | USB & Print serial port |
| Data Storage | Standard 2000 Pcs, Sample 20000 Pcs |
| Altitude | <1.24 mi (2000 m) |
| Standard Accessory | Power Adapter, User Guide, CD Disk (PC Software), USB cable, Standard Calibration Board, Black Calibration Cavity, Transmission black baffle, Sample holder, 25.4 Caliber, 8 Caliber, 4 Caliber |
| Optional Accessory | Micro-printer, Transmissive Test Component, Instrument inversion components, culture dish |
| Notes | The specifications are subject to change without notice. |
| Operating Environment | 32 °F to 104 °F (0 °C to 40 °C)
0% to 85% RH (no condensing) |
| Humidity | 0% to 85% RH (no condensing) |
| Storage Environment | -4 °F to 122 °F (-20 °C to 50 °C) |
| Dimension | 14.57 in x 11.81 in x 7.87 in (370 mm x 300 mm x 200 mm) |
| Weight | Approx. 21. 16 lb (9.6 kg) |


