Description
Overview
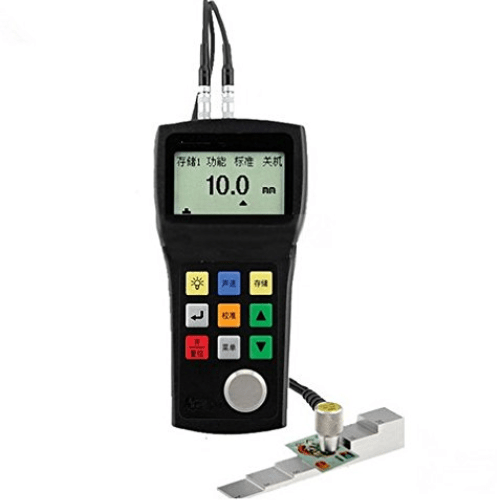
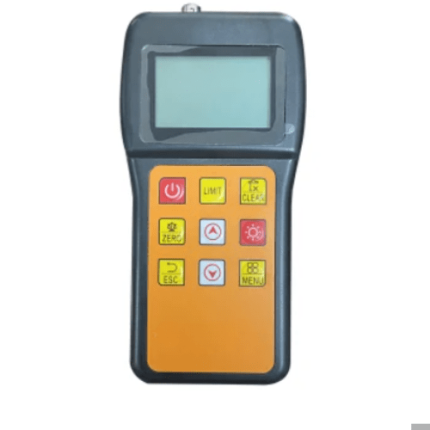
GAOTek Mini Digital Ultrasonic Thickness Gauge for testing the thickness of metal objects has the function of penetrating the coating and can directly measure the thickness of the substrate without removing the coating on the surface of the object to be measured. Coatings applicable to this function include paint layer, plastic coating, etc. This function is realized by measuring two continuous bottom echoes of the substrate. This mode also has more advantages: zero-free calibration, high stability of indication value, and zero drift.
Features
- Two modes: Pulse-echo for standard thickness measurement, and Echo-echo for measuring substrate thickness without removing the paint layer.
- One-point calibration is for routine measurements, while two-point calibration improves accuracy for curved surfaces or special applications.
- Measurement error: ±0.05 mm (less than 10 mm), ±5% H+0.01 (more than 10 mm) Note: H is the thickness of the object to be measured.
- V path correction: v sound path correction to compensate nonlinearity of the bimorph probe
- For minimum scanning, drag the probe along the object’s surface, and the instrument automatically locates and measures the thinnest thickness.
- Application software: UmView software is used to transmit, store, analyze, and edit documents of measurement data (optional)
- Has the function of penetrating the coating, the measuring range is 0.12in to 0.79in (3 to 20mm). (Use standard probe LM-2D Only)
Technical Specifications
| Measuring Range | 0.03 in to 11.81 in (0.8 mm to 300 mm) (Depending on the probe and the material to be tested, the standard measurement range:(0.04 in to 3.94 in (1 mm to 100 mm)) |
| Working Principle | Pulse-echo mode |
| Probe Compensation Line | A probe compensation line is built in |
| Measurement Resolution | 0.004 in (0.1 mm) |
| Display | 128 × 64 Dot Matrix LCD Display with EL Backlight, Adjustable contrast |
| Repeatability | ± 0.002i n (±0.05 mm) |
| Unit and Display Resolution | Inch-0.001, 0.01 (Millimeter-0.01, 0.1) |
| Calibration Mode | Zero calibration, two-point calibration |
| The Measurement Update Rate | 4 Hz |
| The Sound Speed Range of the Material | 0.0394 in/us to 0.3937 in/us or 1000 m/s to 9999 m/s |
| The Storage Functions | divided into 5 arrays,which can store 500 thickness values. |
| Alarm Function | Set the thickness limit and give an alarm to the measured value outside the limit. |
| Sound Speed Storage | Store the sound speed of 5 different materials. |
| Communication Interface | USB interface or RS232 serial port (optional) |
| Power Supply | Two 1.5V AA batteries.When the power is insufficient, there will be a low voltage prompt. |
| Operating Time | Two No.5 Batteries can be used for 200 hours (no backlight) |
| Automatically Shut Down | After 5 minutes without operation |
| Working Temperature | 14 °F to 122 °F (-10 °C to +50 °C), with special requirements up to –4 °F (-20 °C) |
| Size | 5.87 in x 2.87 in x 1.26 in (149 mm x 73 mm x 32 mm) |
| Weight | 0.44 lbs (200 g) (including battery) |
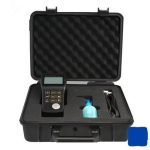
| Standard Configuration | Thickness gauge host, standard probe,instrument box,two alkaline batteries,coupling agent, operation manual,certificate of approval, and packing list |
| Optional Accessories | Rubber sheath, a variety of optional probes;Step test block for calibration; Coupling agent, and high temperature coupling agent |


