Description
Overview
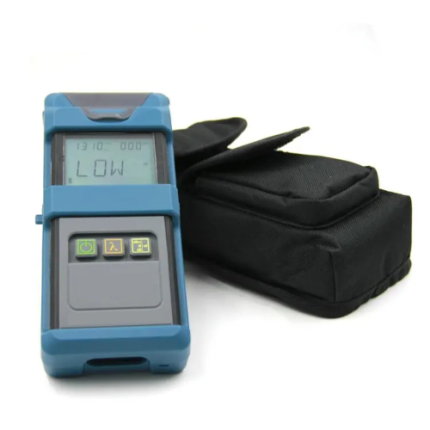
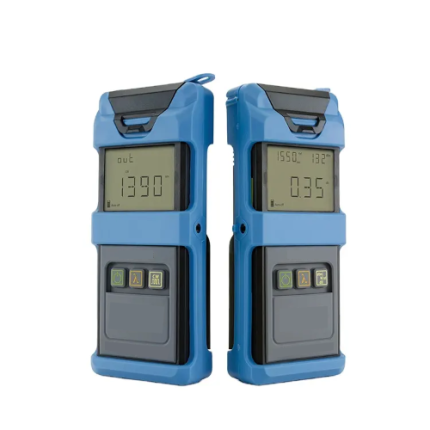
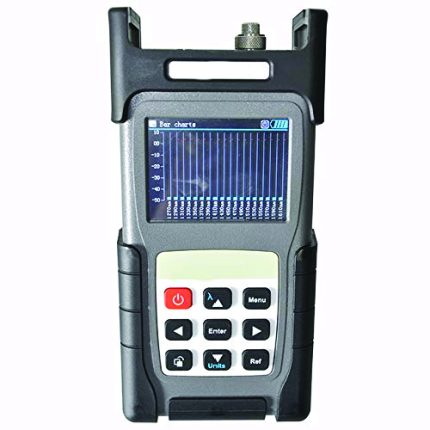
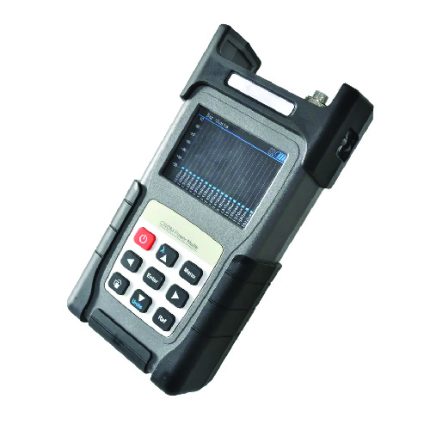
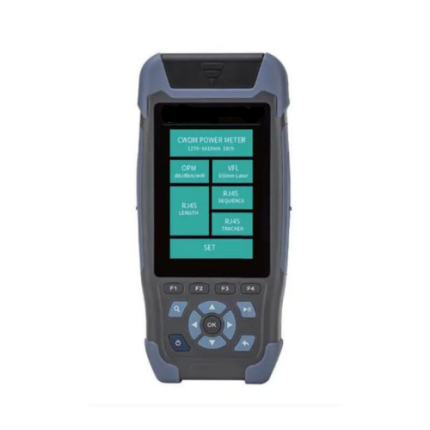
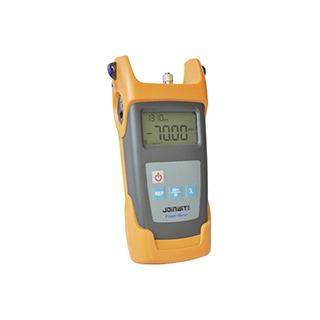
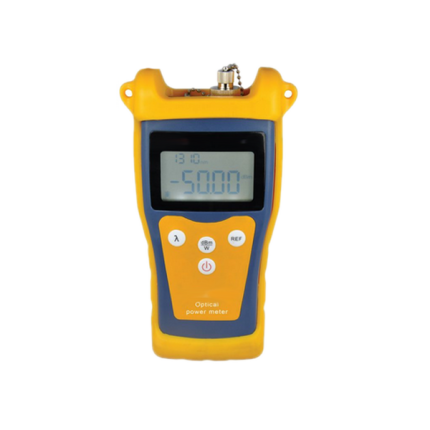
The GAOTek Power Meter with Self-Recalibration is specifically designed by integrating the features of both handheld and intelligent power meters. This device is used to measure the absolute power measurement and relative measurement of link loss in dB. This optical power meter provides precise measurements and serves as a useful tool for use in fiber-optic installation and maintenance. It comes with an LCD display which displays information in backlight. Its compact size, friendly operation interface, broad power measurement range, high precision, and brand-new user automatic calibration function and high performance in application makes it an ideal tool for optical fiber network. The power meter can display the optical power in mW, dB, and dBm units simultaneously.
Key Features
- Handheld portable device
- Absolute and relative power measurement
- Displays the optical power in mW, dB, and dBm units simultaneously
- User self-recalibration function
- Backlight LCD display
- Auto-off function
Technical Specifications
| Wavelength | 800 nm ~1700 nm |
| Measurement Range | -50 dBm ~ +26 dBm |
| Detector | in GaAs |
| Uncertainty Degree | ±0.5 dB |
| Power Detecting Range | -70 dBm ~+10 dBm |
| Display Resolution | 0.01 dBm |
| Calibrated Wavelengths | 850 nm, 980 nm, 1300 nm, 1310 nm, 1490 nm, 1550 nm |
| Resolution | 0.01 dBm |
| Connector | FC or Universal 0.09 in (2.5 mm)) adapter |
| Power Supply | Alkaline battery (3 AAA 1.5 V) |
| Battery Serving Time | 240 hours |
| Working Temperature | 10°F ~+ 140 °F (-10 °C to 60 °C) |
| Storage Temperature | -13 °F ~+ 158 °F (-25 °C to 70 °C) |
| Dimensions (L x W x H) | 3.23 in x 1.30 in x 6.89 in
(82 mm x 33 mm x 175 mm) |
| Relative Humidity | 0~95 % RH (non- condensing) |
| Weight | 0.68 lbs. (310 g) |
Additional Information
Panel Description

The below table shows different keys on the device and their respective function,
| ON/ OFF Key | Press this key to turn the unit on/off |
| LCD | The LCD screen display the measurement tested in dB, dBm, mW, uW, nW units; the selected wavelength; the current operating situation and so on. |
| dBm Key | To test the power value under certain wavelength |
| Wavelength Key | To switch the current operating wavelength between 850 nm,980 nm, 1300 nm, 1 nm, 1550 nm |
| Light Key | To turn the background light on/off |
| Zero Key | Press this key for auto-zero |
Start-up and shutdown
- Press power button to turn the tester on.
- Press power button and hold for approximately 2 seconds to turn off.
Absolute power measurement
- Turn on the Power Meter
- Press the λ key to switch between the wavelengths.
- The default wavelength is 1nm.
- Connect the light to be measured, and then reading will be displayed on the LCD screen, including Linear and nonlinear value.
- The Auto-off function is automatically enabled when the device is turned on.
Relative power measurement.
- Select the wavelength to be measured.
- Under “Absolute power measurement mode”, connect to the light to be tested.
- Press dB key, then current power value is stored as a reference value in dB unit. At the same time, it also displays the current absolute power value and current relative value is 0 dB.
- Connect to another beam of light to be tested, display the current relative power value and absolute power value under tested.
- Wavelength key selects the desired wavelength value at certain ranges.
- Once confirmed, the value is displayed on the left upper corner of the screen.
Special function
This power meter has 3 kinds of working mode:
- Factory Mode: The factory is responsible for the test and calibration.
- User Mode: Press the λ + Light key synchronously, then enter the User mode. Numeral “1” will be displayed on the top right corner.
- Working Mode: Press the λ + Light key synchronously once again, it exits from the User mode and enter the Working mode. Numeral “0” will be displayed on the top right corner.
The below table explains the function of each button
| FUNCTION | BUTTON |
| + 0.05 | Light |
| -0.05 | dB |
| Store | Zero |
| Switch Wavelength | λ |
| Return to the factory setting | Λ+ Zero |
Notes: If any errors or mistakes caused by the user self-calibration operation, please press the ‘λ+ Zero’ synchronously under the user mode to go back to the factory setting.
- Auto-off: Press LIGHT + dB key to turn on the auto-off function. The auto-off symbol will be displayed on the top right. The unit will be turn off automatically after 10 minutes idle time.
- Background light On/Off: Under the Working Mode, press LIGHT to turn the background light On/Off. A small sun symbol will be displayed on the top right corner
Steps to calculate Optical fiber loss measurement
Step 1-Optical Reference Level
- Turn on optical power meter and press the λ key to select the wavelength.
- Turn on optical light source (emitting source) and select the wavelength.
- Wait for 1-2 minutes until it stabilizes.
- Select a piece of patch cords, which is used to connect the light source, we call them as ‘Emitting patch cords’.
- The fiber of the emitting source patch cords must be the same fiber type as the fiber under test.
- Connect the light source (emitting source) with the Handheld Power Meter through the emitting source patch cords
- Handheld Power Meter gets the power measurement value.
- This value should be close to the value we got from the light source (emitting source) set.
- If it has wide disparity, please make sure that the fiber connection is cleaned properly else replace with another jumper.
- Press the dB key; the reading 0.00 dB will be displayed on the screen. The tested power values will be set to the reference value.
Step 2-Optical Loss Measurement
1.Keep the emitting source patch cords connected with the light source (emitting source).
2.Connect the Handheld Power Meter and light source (emitting source) to the optical fiber link respectively.
Notes: Clean all the connectors surface including all the necessary optical adaptors.
3.The reading in dB unit displayed on the screen is the tested optical fiber link loss. (also display the current absolute optical power value in dBm unit).
Maintenance
- It is important to keep all optical connectors and surfaces free from oil, dirt and other contamination to ensure proper operation.
- Keep using only one type of adapter to avoid excess loss from different connectors.
- Please use dust proof cap for protection to avoid from being scratched or contaminated when the Power Meter is not in operation.
- Light interface is sensitive, please carefully plug in and pull out the connectors.
- Please use clean cotton to clean the sensor surface, clean it in clockwise direction carefully.
- When the device is not used for a long time, please take out the battery.
Troubleshooting:
| Description | Problem | Method |
| Faint LCD Display | Battery is weak | Change battery |
| No Display after turning on the unit | Battery is weak/ others | Turn on the unit again/ change battery |
Changing the Battery
If you find that the battery is weak while operating it, immediately turn the unit off and replace with a new battery.
Standard Packages
The below table shows the standard package information:
| Items | Name | Quantity |
| 1 | GAOTek Optical Power Meter Self-Recalibrate | 1 |
| 2 | Manual | 1 |
| 3 | Protective Holster | 1 |
| 4 | 1.5 v AA Battery | 3 |
| 5 | Cotton Swab | 1 |