Description
Overview
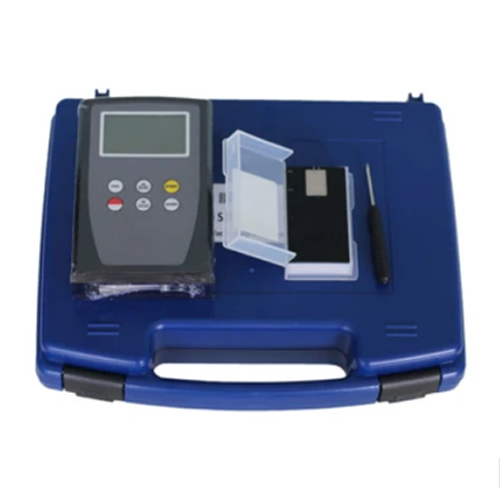
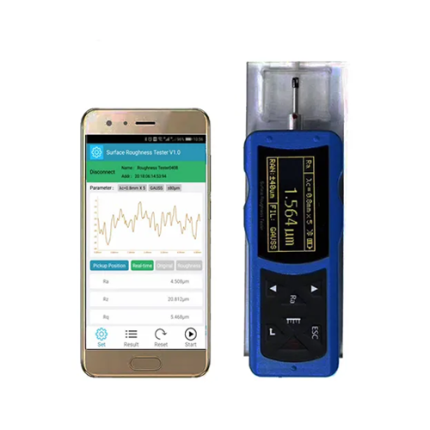
GAOTek Surface Roughness Tester When measuring the roughness of a surface, the sensor is placed on the surface and then uniformly slides along the surface by driving the mechanism inside the tester. The sensor gets the surface roughness by the sharp built-in probe. This roughness causes displacement of the probe which results in change of inductive amount of induction coils so as to generate analogue signal, which is in proportion to the surface roughness at output end of phase-sensitive rectifier. The exclusive DSP processes and calculates and then outputs the measurement results on LCD.
Features
- Be compatible with the four standards of ISO, DIN, ANSI and JIS. When measuring the roughness of a surface, the sensor is placed on the surface and then uniformly slides along the surface by driving the mechanism inside the tester. The sensor gets the surface roughness by the sharp built-in probe.
- This roughness causes displacement of the probe which results in change of inductive amount of induction coils so as to generate analogue signal, which is in proportion to the surface roughness at output end of phase-sensitive rectifier. The exclusive DSP processes and calculates and then outputs the measurement results on LCD.
- Multiple parameter measurement: Ra, Rz.
- Highly sophisticated inductance sensor.
- Small in size, light in weight and easy to use.
- Manual or automatic shutdown.
- Metric /Imperial Conversion.
- Use “USB data output” and “RS-232 data output” to connect with PC.
- Provide “Bluetooth ™ data output” choice
Technical Specifications
| Display | 4 digits, 0.3937 in (10 mm) LCD, with blue backlight |
| Parameters | Ra, Rz |
| Measuring Range | Ra: 0.0510.00 μm; Rz: 0.150.0 μm |
| Accuracy | ≤ ± 15% |
| Fluctuation of Display Value | Not more than 6% |
| Test Principle | Inductance type |
| Radius of Probe Pin | 10 μm |
| Material of Probe Pin | Diamond |
| Measurement Force of Probe | 16 mN (1.6gf) |
| Probe Angle | 90° |
| Vertical Radius of Guiding Head | 1.89 in (48 mm) |
| Maximum Driving Stroke | 0.5 in (12.5 mm) |
| Cutoff Length (l) | 0.009 in (0.25 mm) / 0.0314 in (0.8 mm) / 0.098 in (2.5 mm) optional |
| Sampling | When Length = 0.009 in (0.25 mm), Vt = 0.135 mm/s; When Length = 0.0314 in (0.8 mm), Vt = 0.5 mm/s; When Length = 0.0984 in (2.5 mm), Vt = 1 mm/s |
| Returning | Vt = 1 mm/s |
| Resolution | 0.001 μm if reading < 10 μm; 0.01 μm if 10 μm ≤ reading ≤ 100 μm; 0.1 μm if reading ≥ 100 μm |
| Evaluation Length | 1 to 2 L optional |
| Temperature | 0 °F to 122 °F (0 ºC to 50 ºC) |
| Humidity | < 80 %RH |
| Power Supply | 4×1.5v AA size (UM-3) battery |
| Dimensions | Main Unit: 5.039 in x 3.15 in x 1.18 in (128 mm x 80 mm x 30 mm) |
| Weight | 0.6172 lb (0.28 K) |


