Description
Overview
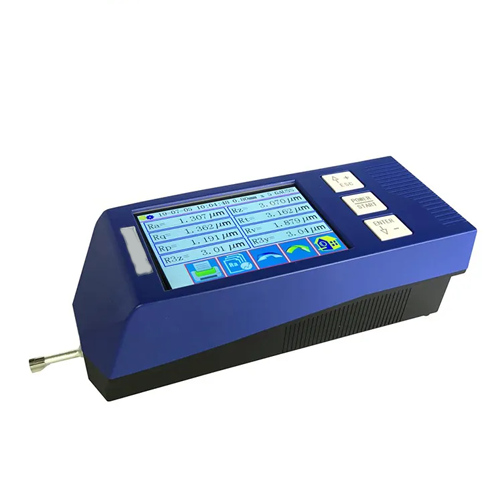
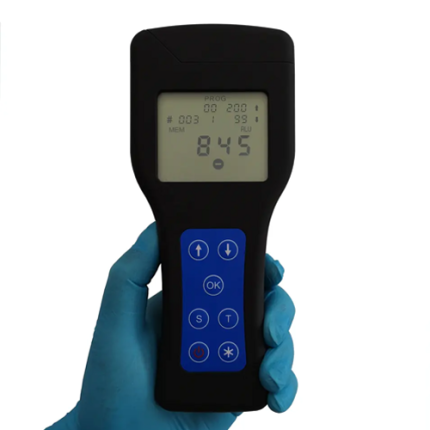
GAOTek surface tester can measure the roughness of various machined parts, such as plane surface, bevel surface, outer cylindrical surface, curved surface, small hole, groove, and car axle etc. Application for Surface roughness measurement of metal and non-metal parts and workpiece, including a variety of machining parts, machining manufacturing, testing, commodity inspection departments, it is especially suitable for on-site inspection of large workpiece and production lines and the inspection, measurement, commodity inspection and other departments of the outbound verification, no damage to the workpiece.
Features
- New design: Users-friendly system and intuitive menu navigation
- Measurement mode: general measuring and Split type measuring
- Multi-direction measurement such as lateral and upside
- DSP chip controlled achieves high accuracy and fast testing speed
- 5 in (88.9 mm) LCD touch screen, digital and color graphic display with backlight
- Touch screen & button operation are both available
- Rechargeable Li-ion battery allows you to make on-site measurements
- Multi-functions: Bluetooth printing, Operation by APP
- Calculation results, assessed profiles, amplitude curves can be displayed
- Easy to connect with computer and printer
Technical specification
| Measuring range | 160 μm ( -80 μm to +80 μm)/ Optional :320 µm ( -160 μm to +160 μm) |
||
| Maximum drive stroke length | 0.78 in (20 mm) | ||
| Resolution | 0.001 μm | ||
| Roughness parameters | Ra, Rz, Rq, Rt, Rp, Rv, R3z, R3y, Rz (JIS), Rs, Rsk, Rsm, Rku, Rmr; Ry; Rmax, Rc, RPc, Rk, Rpk, Rvk, Mr1, Mr2 |
||
| Standard | ISO, ANSI, DIN, JIS | ||
| Graphics | Curves, roughness profile, direct profile | ||
| Filtering methods | RC, PC-RC, Gauss, D-P | ||
| Standard Sensor | Measuring principle | Displacement differential inductor (Inductive) | |
| Stylus | Stylus Diamond,90°, 5 μm radius of stylus | ||
| Stylus force | <4 mN | ||
| Lead head | Cemented carbide, sliding direction radius 40 mm | ||
| Sliding speed | lr= 0.25, Vt= 0.135 mm/s; lr= 0.8, Vt= 0. 5 mm/s; lr= 2. 5, Vt= 1 mm/s; Return Vt= 1 mm/s |
||
| Indication error | ≤±7% | ||
| Indication variability | <6% | ||
| Memory | 100 groups (data and graphic) | ||
| Power supply | Rechargeable Li-ion battery | ||
| Parameters | Display range | Parameters | Display range |
| Ra, Rq | 0.005 μm to 30 μm | Rz, R 3 z, Ry, Rt, Rp, Rm | 0.02 μm to 320 μm |
| Sk | 0% to 100% | S, Sm | 0.0394 in (1 mm) |
| Operation environment | Temperature: -4 °F to 104 °F (- 20 ℃ to 40 ℃), Humidity:<90% RH | ||
| Storage/transportation environment | Temperature: -40 °F to 140 °F (- 40 ℃ to 60 ℃), Humidity:<90% RH | ||
| Sample length (lr) | 0.0098 in (0.25 mm), 0.0315 in (0.8 mm), 0.0984 in (2.5 mm) | ||
| Evaluation length(ln) | Ln= lr × n n=1 to 5 | ||
| Dimension (mm) | Main body: 2.5 in x 2 in x 6.2 in (64 mm x 53 mm x 160 mm) | ||
| Weight | About 0.8 lb (380 g) (Main body) | ||


