Description
Overview
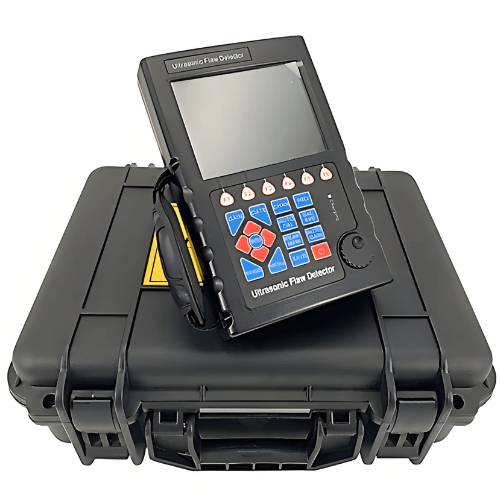
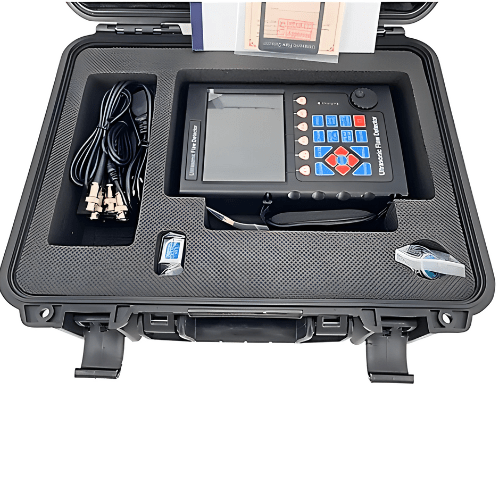
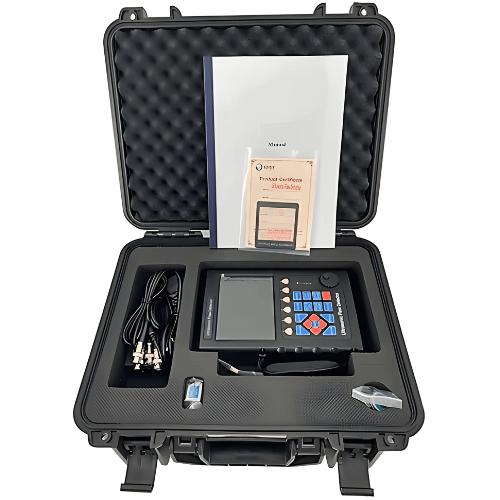
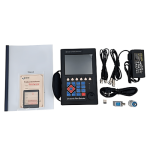
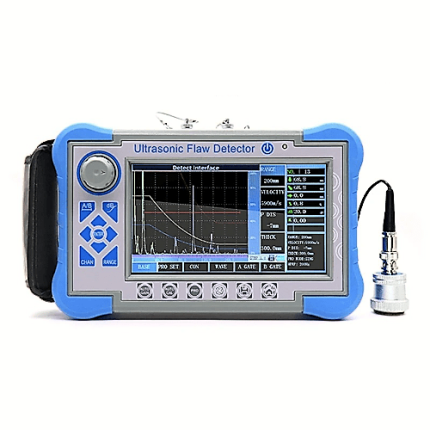
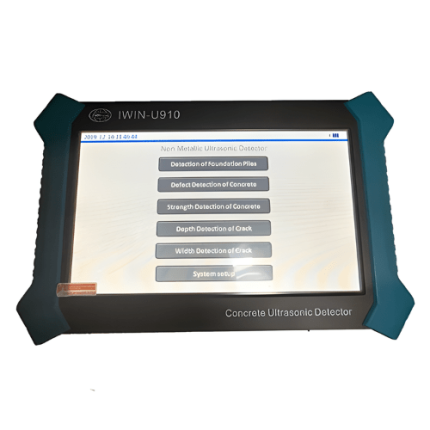
GAOTek Ultrasonic Testing Flaw Detector for Metal Internal Crack can quickly, easily and without damage, accurately detect, locate, evaluate and diagnose various defects inside the workpiece such as cracks, welds, pores, sand holes, inclusions, folding, etc. It has been applied for electric power, petrochemical, boiler and pressure vessel, steel structure, military, aerospace, railway transportation, automobile, machinery and other fields. It is an essential instrument for the non-destructive testing industry.
Features
- It can switch between single crystal probes
- It has a gate setting and alarm function
- The position and width of an incoming wave alarm can be set
- Two display modes with angle and K value
- The DAC curve is generated four additional adjustable offset curves
- AVG curve is two types of defects can be customized
- Automatic probe calibration function
- With storage function
- it can store 100 A sweep patterns, parameters and DAC curve
- Has a storage graphics playback function
- stored A-scan graphics from the storage area and displayed on screen
- Has a delete function to delete the specified content from storage area
- Peak memory function
- Freeze and thaw functions with waveform and inspection parameters
- With sound path measurement and echo frequency analysis function
- Real-time power status indication function
- Support USB communication interface
- Li-battery, can continuous working more than ten hours
- Can set up buzzer alarm during operation
- Light, convenient, easy to operate
Technical Specifications
| Scan Range (mm) | Scan range: 0 in to 393.70 in (0 mm to 10000 mm) Grades: 2.5, 5, 10, 20, 30, 40, 50, 60, 70, 80, 90, 100, 150, 200, 250, 300, 350, 400, 450, 500, 600, 700, 800, 900, 1000, 2000, 3000, 4000, 5000, 6000, 7000, 8000, 9000, 10000. Adjusting step distance: 0.0394 in (1 mm) |
| Pulse Shift (ms ) | Pulse shift (ms): -7 ms to +9984 ms Grades: -20, -10, 0.0, 10, 20, 50, 100, 150, 200, 250, 300, 350, 400, 450, 500, 600, 700, 800, 900, 1000, 1500, 2000, 2500, 3000, 3400. Adjustment step: 1 (-7 ms to 9984 ms) |
| Probe Zero Point(ms) | Probe zero point: 0.0 to 99.99 Adjust the step: 0.01 |
| Material Sound Speed (M/S) | Material sound speed: 1000 to 15000 7 fixed sound speeds: 2260, 2730, 3080, 3230, 4700, 5900, 6300 Adjust the step: 1 |
| Working Methods | Single probe (receive and send) dual probes (one for receiving one for sending) |
| Frequency Range (mHz) | 0.5 to 20 |
| Gain Adjustment (dB) | 0 to 120; Adjust the step: 0.2, 1, 2, 4, 6, 8, 10, 20, 50 |
| Linear Inhibition | Screen height 0 % to 80 %, step size: 1 % |
| Vertical Linearity Error | Vertical linear error, not more than 3 % |
| Horizontal Linear Error | Within the scan range, not more than 0.2 % |
| Flaw Detection Sensitivity Margin | ³62 dB |
| Dynamic Range | ³32 dB |
| Alarm | Incoming wave alarm |
| Display Screen | High-brightness colour 5.7 in display |
| A-Scan Display Area | Full screen or local; A-Scan shows freeze and thaw A-Scan fills |
| Flaw Detection Channel | 300 |
| Data Storage | 500 A-Scan graphics |
| Communication Interface | USB |
| Units Of Measurement | Mm |
| Power Adapter | Enter 100 V to 240 V or 50 Hz to 60 Hz; Output 9 V or 1.5A |
| Battery | Lithium (Li) Battery 5000 mAh |
| Working Humidity (rH) | (20 % to 90 %) |
| Interface Type | BNC |
| Working Temperature (°C) | 18 °F to 122 °F (-10 °C to 50 °C) |
| Dimensions | 8.66 in x 5.51 in x 1.96 in (220 mm x 140 mm x 50 mm) |
| Weight | 2.20 lb (1 kg) |

