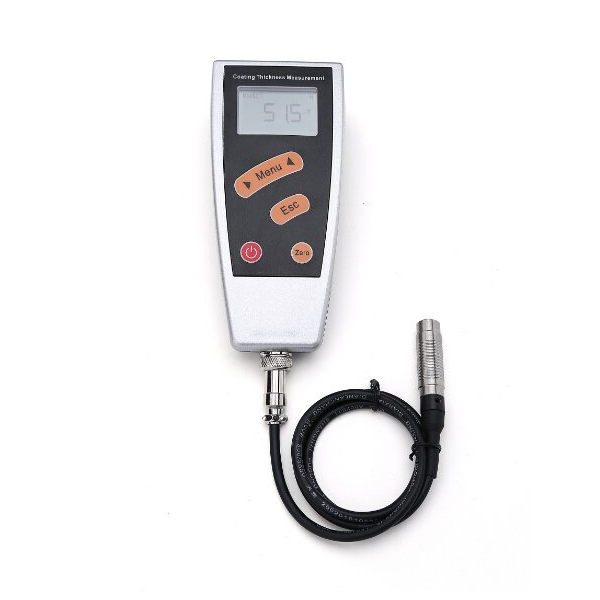
| Measuring range |
0~1250 µm |
| Lower limit of resolution(µm) |
0.1um(0-100),1um(100-1250) |
| Calibration |
Manufacturer for the calibration, zero calibration, the calibration foil calibration |
| One-point calibration(µm) |
±(3%H+1) to ±(3%H+1) ±(3%H+1.5) |
| Two-point calibration(µm) |
±[(1~3%H) +1] to ±[(1~3%H) +1] ±[(1~3%H) +1.5] |
| Minimum radius of curvature(µm) |
Convexity 1.5mm (0.06in), Camber concave 3mm(0.12in) |
| Critical thickness of substrate(mm) |
0.3mm to 0.5mm (0.01 – 0.02in) |
| Diameter of the minimum value(mm) |
Φ5 – Φ7 |
| Temperature |
0℃-40℃ (32°F -104°F) |
| Humidity |
20%RH-90%RH |
| Overall Dimension |
147×65×30 (5.8 x 2.5x 1.1 in) |


